The best trail camera placements rely on understanding how deer move through terrain throughout the season, and letting that behavior guide your setups. Not every terrain feature deserves a cell cam. If deer aren’t using an area when the tag is in your pocket, you’re just taking pictures of deer.
Here, we share six field-tested trail camera placements that consistently produce and offer insights into how you can scout similar spots.
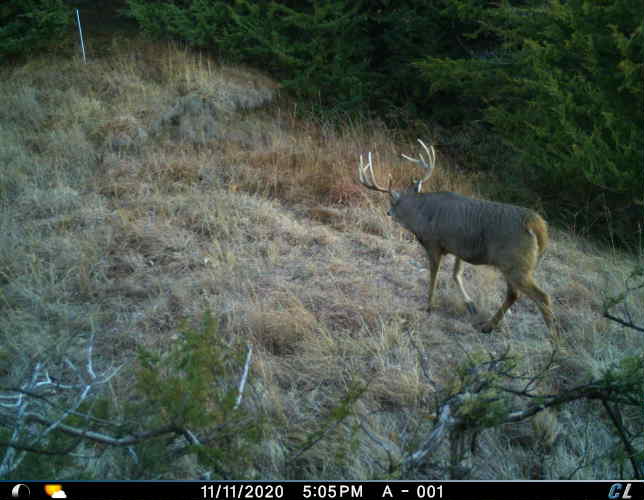
Trail Cam Placement in Ridge Bedding Areas
Ridges, benches, and timbered terrain often yield a higher percentage of buck photos than pinch points or food sources. My focus areas in this terrain are bedding areas, scrape lines, and rub lines.
A rut-focused play for me, hanging a camera amongst doe bedding on the end of a ridge has consistently added pieces to the puzzle of a known buck, while annually introducing surprise transient mature bucks.
This camera location is in a standard doe bedding area on the top third of a ridge above multiple food sources. In late October and November, the winds prevail from the west and northwest, so I hang my camera on the most well-used trail I can find in proximity and downwind of verified beds.
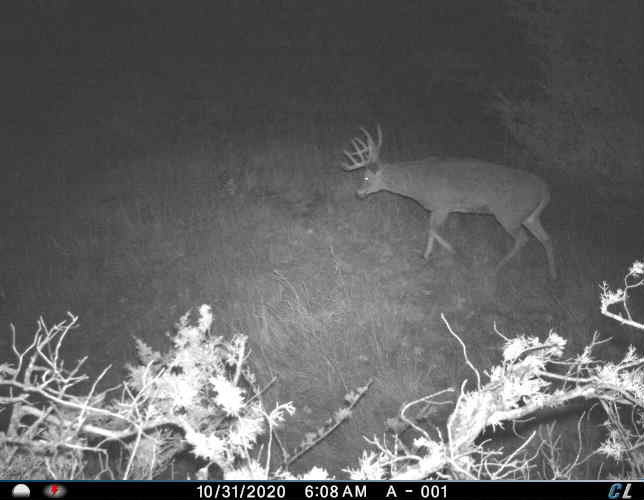
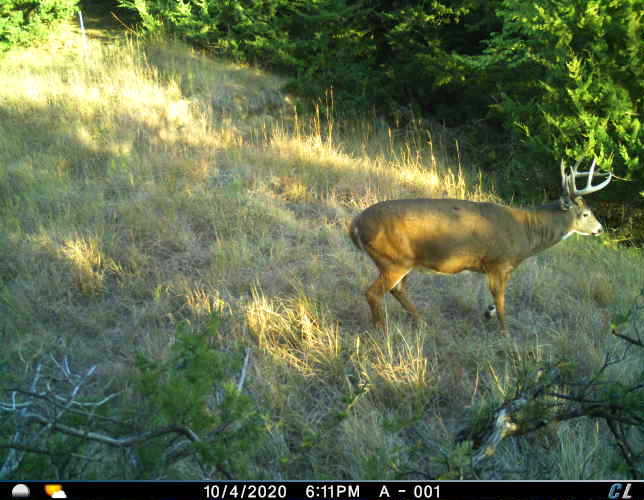
Ridge Trail Cam Placement Example
Bucks will often travel just above that top line of topography scent checking for estrus does. This camera location often sees a major uptick in buck traffic in the last 10 days of October through the middle part of November.
Best Trail Cam Placements at Pinchpoints
Examples of pinch points for trail cameras are nearly endless: Downed trees, gaps in fences, saddles, steep ditches, creek crossings—all pinch points. Here are four go-to pinch point trail camera placements.
The Gate
The Gate is, well, a gate in the fence for tractors to pass through, but something we leave open to incite deer travel. With a wooded fence row leading up to a stand of timber with adjacent CRP and crop field, since the inception of trail cameras, or at least the commencement of my family using them some two-plus decades ago, we’ve run a camera in this corner.
The Creek Bottom
This is one of the more unique creek bottoms I’ve had the pleasure of putting a camera. There are steep ditches on both sides of a flat middle strip of ground—the east side always has water, the west I’ve never seen with water. Where this camera is, at some point in the property’s past, the ditch to the west was filled in just enough to get a 4-wheeler across, creating an easy travel route, avoiding a near-vertical 8-foot drop.
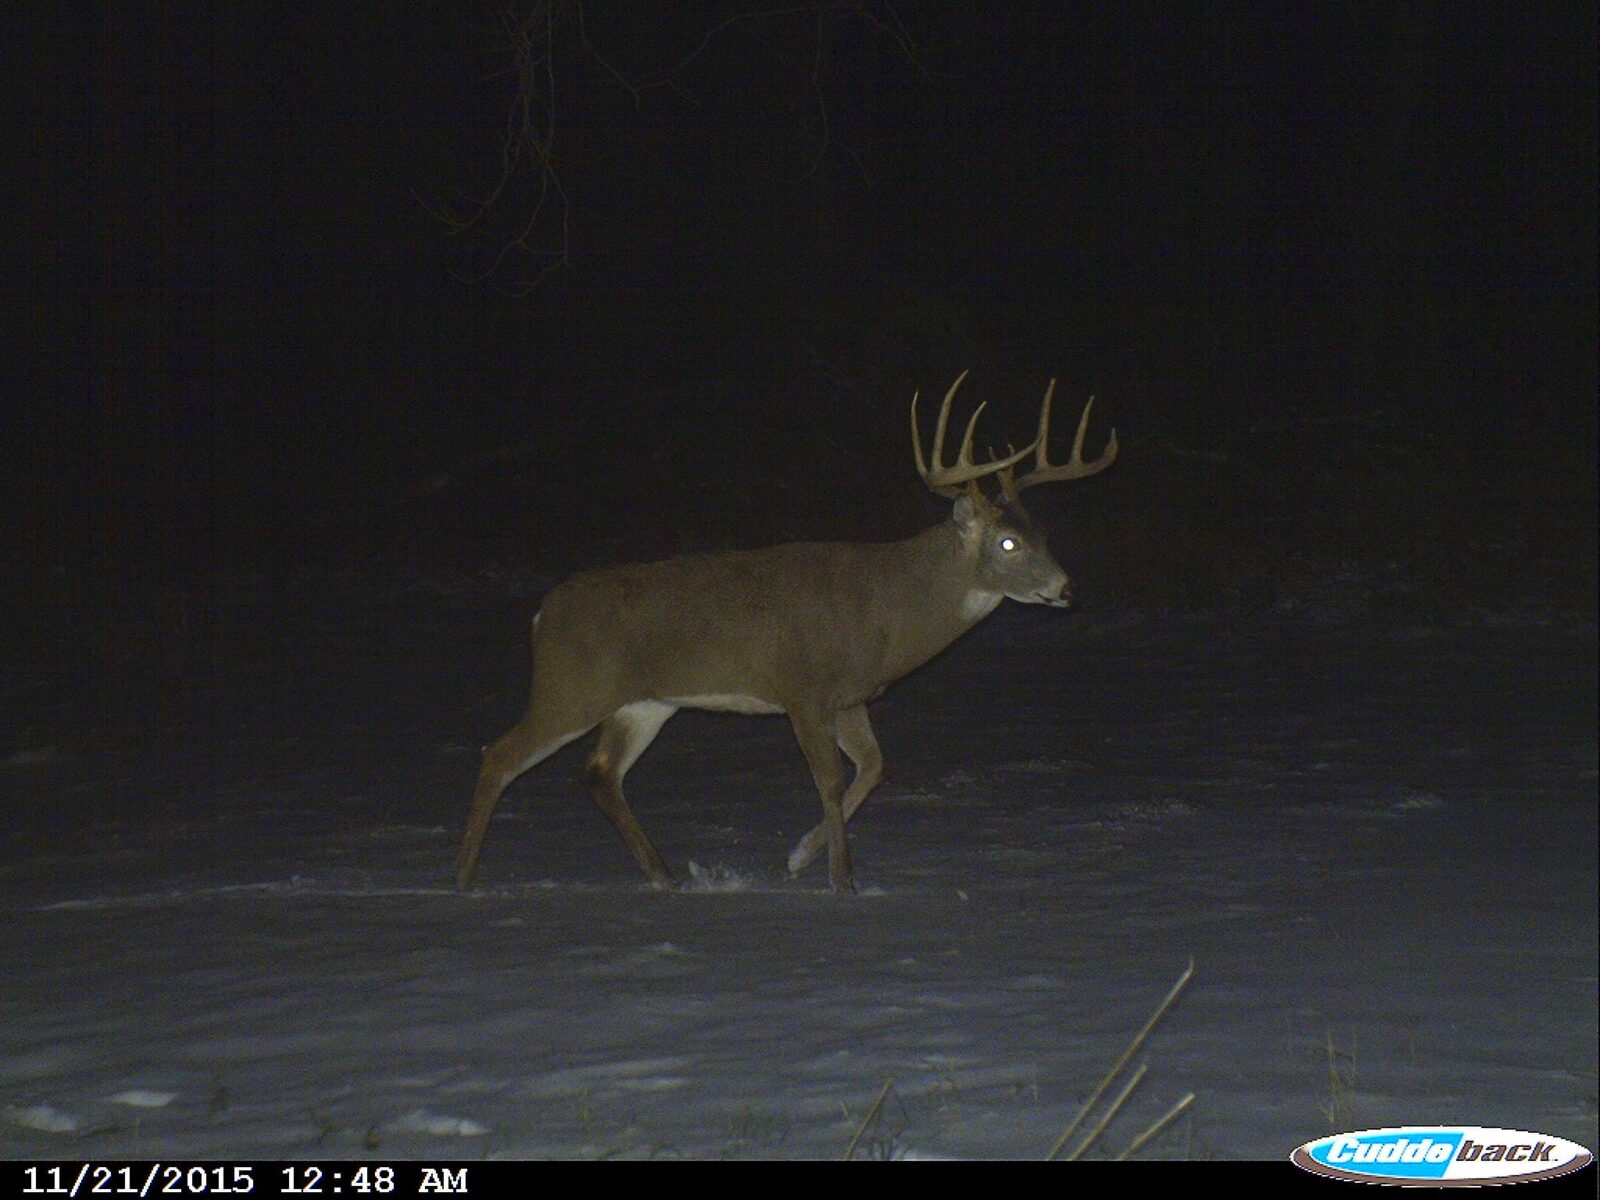
Creek Bottom Trail Cam Placement Example
The 4-wheeler path mentioned above creates the perfect pinch point that hosts an annual scrape. Though much of the activity is during the night, it gives a great idea of bucks in the area and the surrounding ridge systems they will likely use during shooting hours.
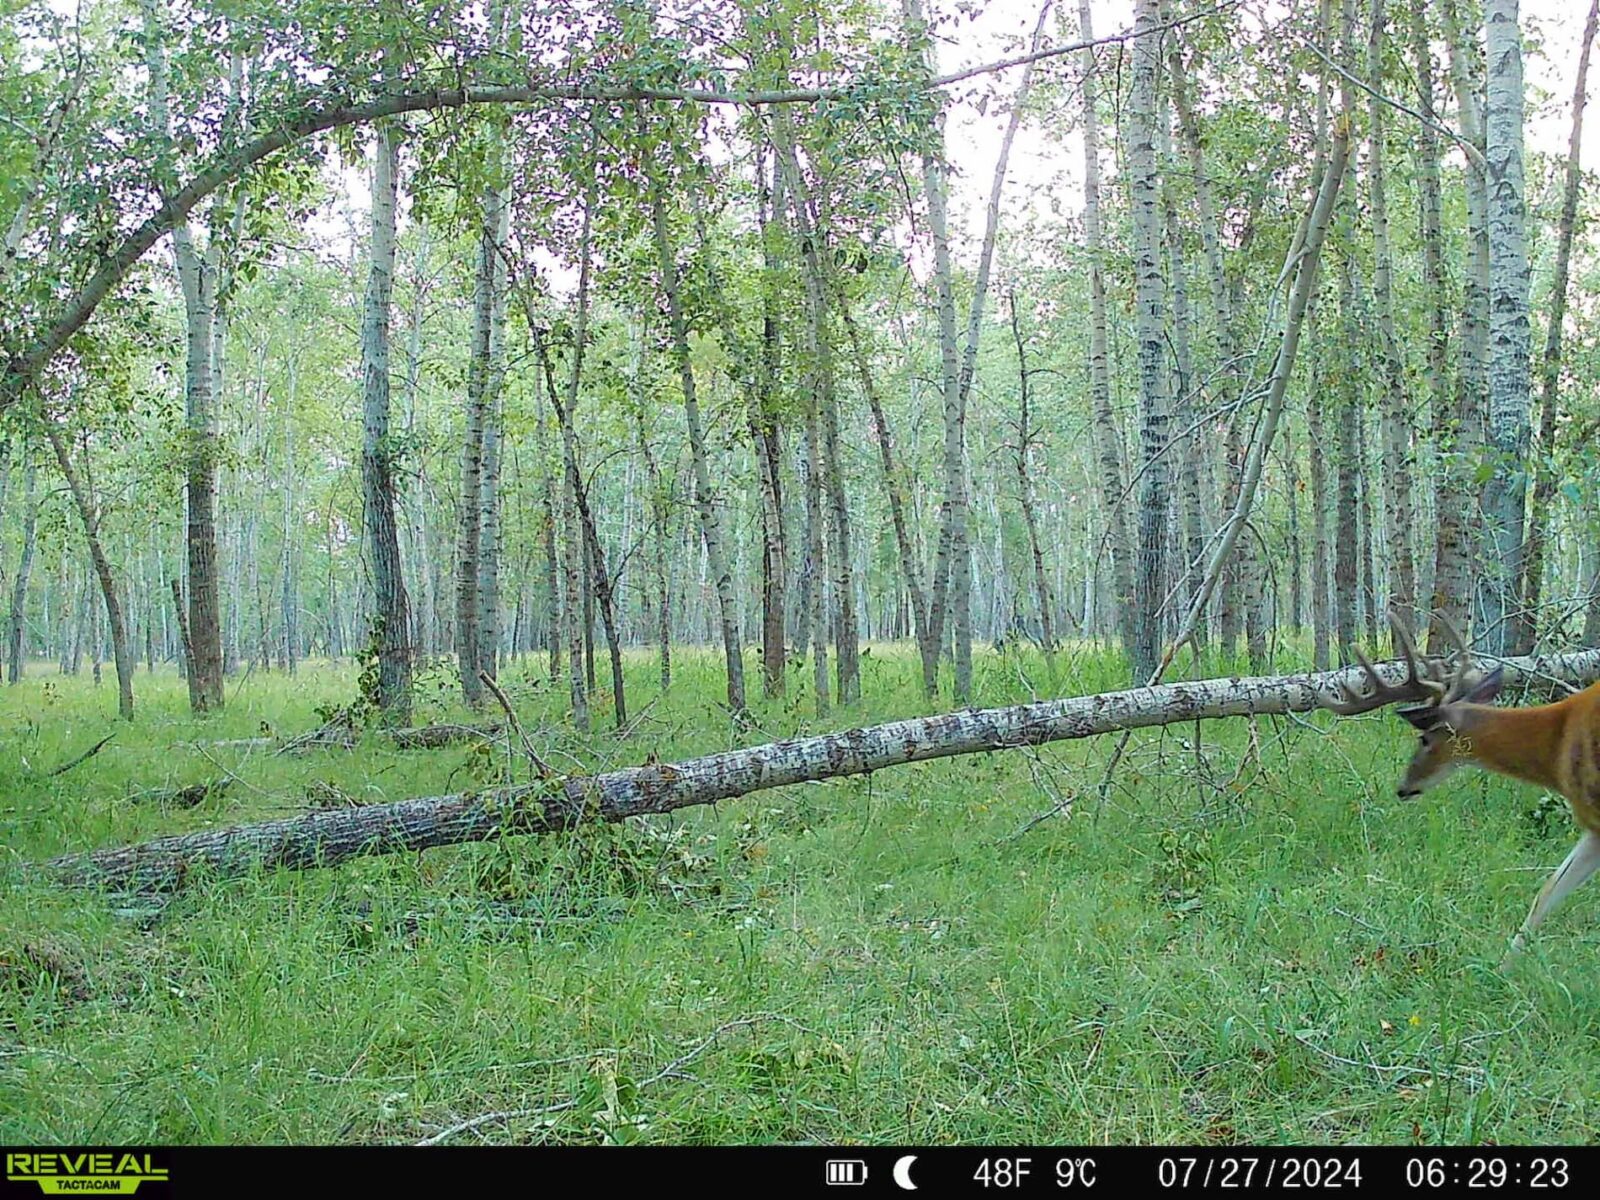
The Leaning Tree
My “Leaning Tree” placement came by trial and error. It’s a roughly 10-acre, pancake-flat open pocket of timber. There are trails all throughout it, but none seemingly more well-used than another. After a few months of varied locations, I noticed a recently fallen tree that forced numerous deer trails around it, and it has produced ever since.
The Saddle
I’ve tried camera locations on many saddle-like features over the years. They can be tricky depending on how wide the saddle is and how steep the adjacent ‘peaks’ are. But, when you find one that works, they provide great intel of a buck’s movements, especially during the pre-rut on through the breeding cycle when bucks begin to ramp up their movement.
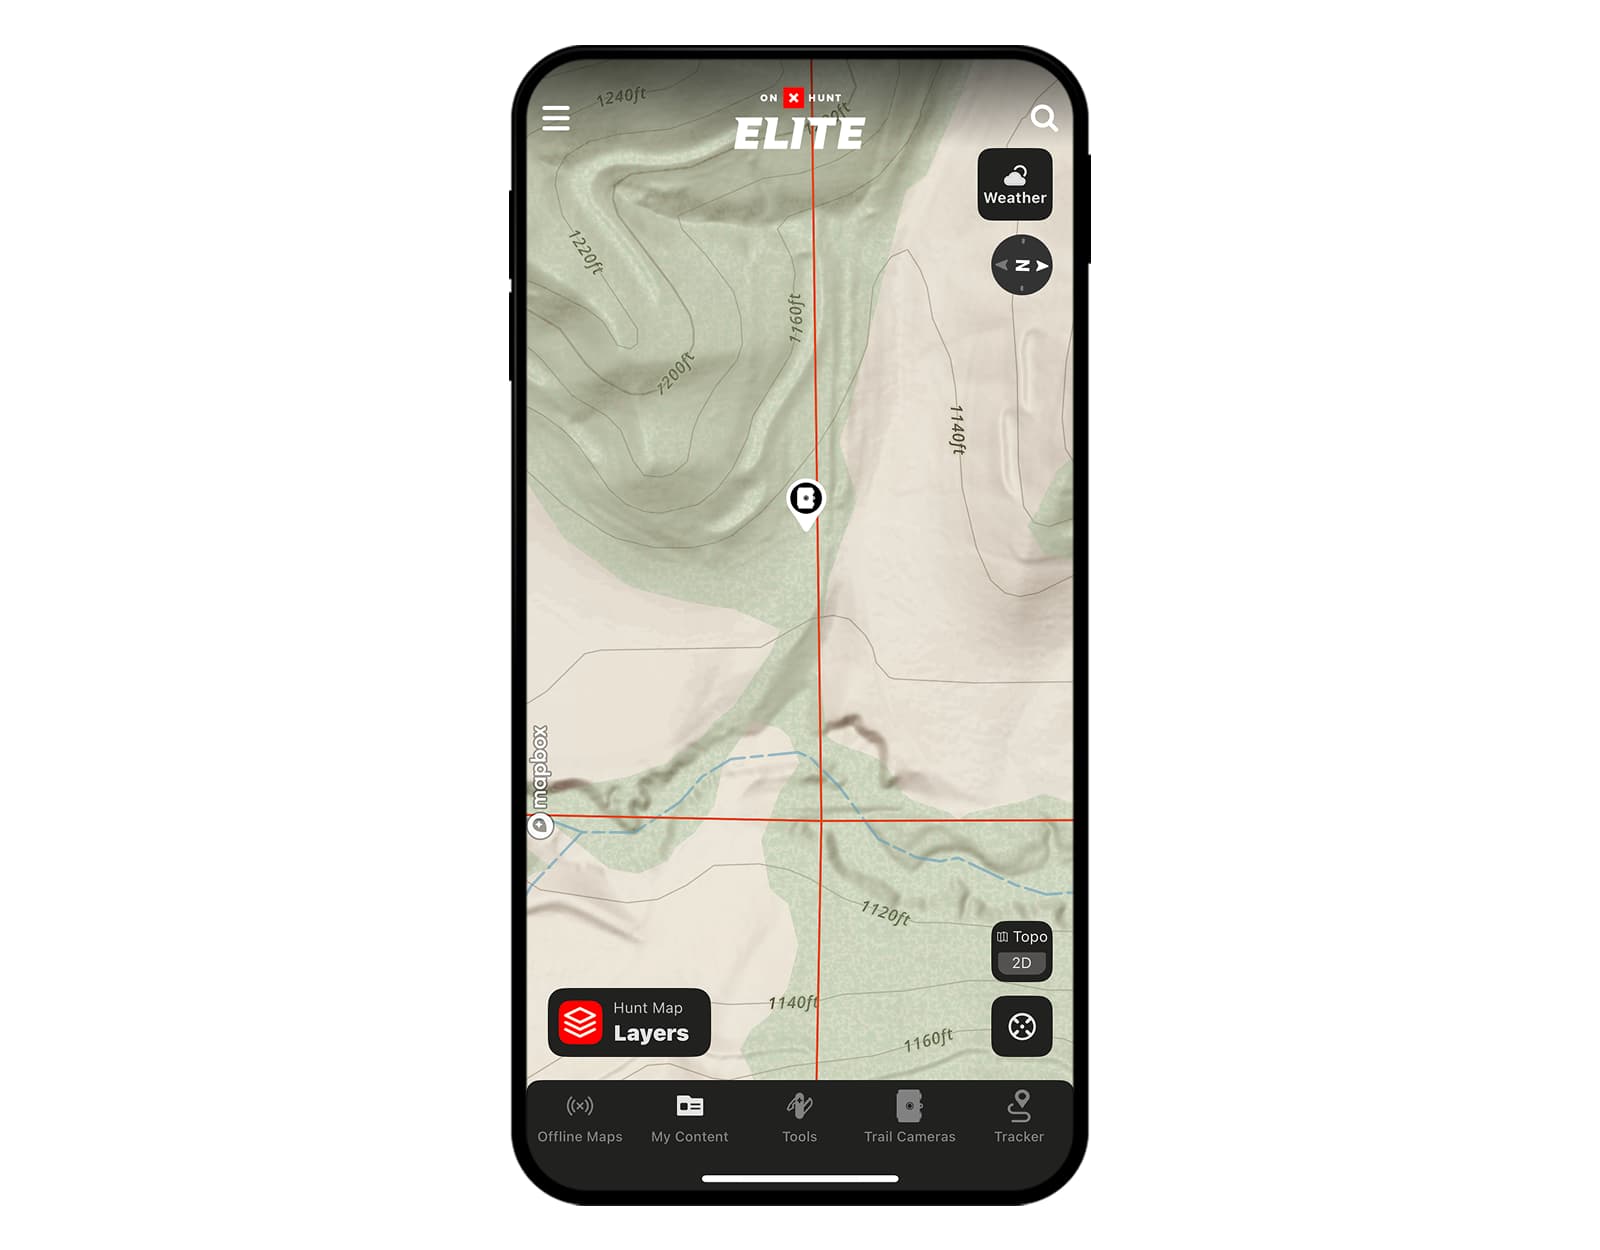
This particular saddle is subtle, as you’ll see in the Lidar animation below. It lies between an old mature oak ridge that has great bedding cover to the north and a south-facing slope with thick pockets of cedars that leads down to a large ag field to the south. Mature bucks seem to use these nuanced terrain features more than other deer, and this has become a staple placement for a camera every year I draw an Iowa tag.
Saddle Trail Cam Placement Example
As you can see, this saddle is subtle: It only saves a buck about six feet of elevation gain versus going over the ridges on either side of it, but those six feet are enough to funnel deer movement quite consistently.
How To Scout Pinch Point Trail Cam Placements
While you can absolutely use topo or lidar to find good pinch points, a lot of these more nuanced features are best discovered via boots on the ground scouting. Every winter, I turn my Tracker on and walk every deer trail I can find. This creates a blood vessel-like network on the map, clearly showing the main arteries deer use to get around. With primary deer movement corridors mapped, you can analyze them in detail to support your trail cam placement strategy.
Trail Cam Placement in Low-lying Terrain
A spot I discovered a few years ago, which I call the Gravel Crossing, has become one of my favorite and most productive trail camera locations. It’s a slight ditch that is a flood stage waterway from the nearby river and a main artery of travel between where these deer feed and where they head back to bed.
Many photos I get here are within shooting hours, and I’m close enough to their bedroom to gain valuable intel on the wind direction bucks are using while bedding here, as well as what time they are generally getting in and out of bed.
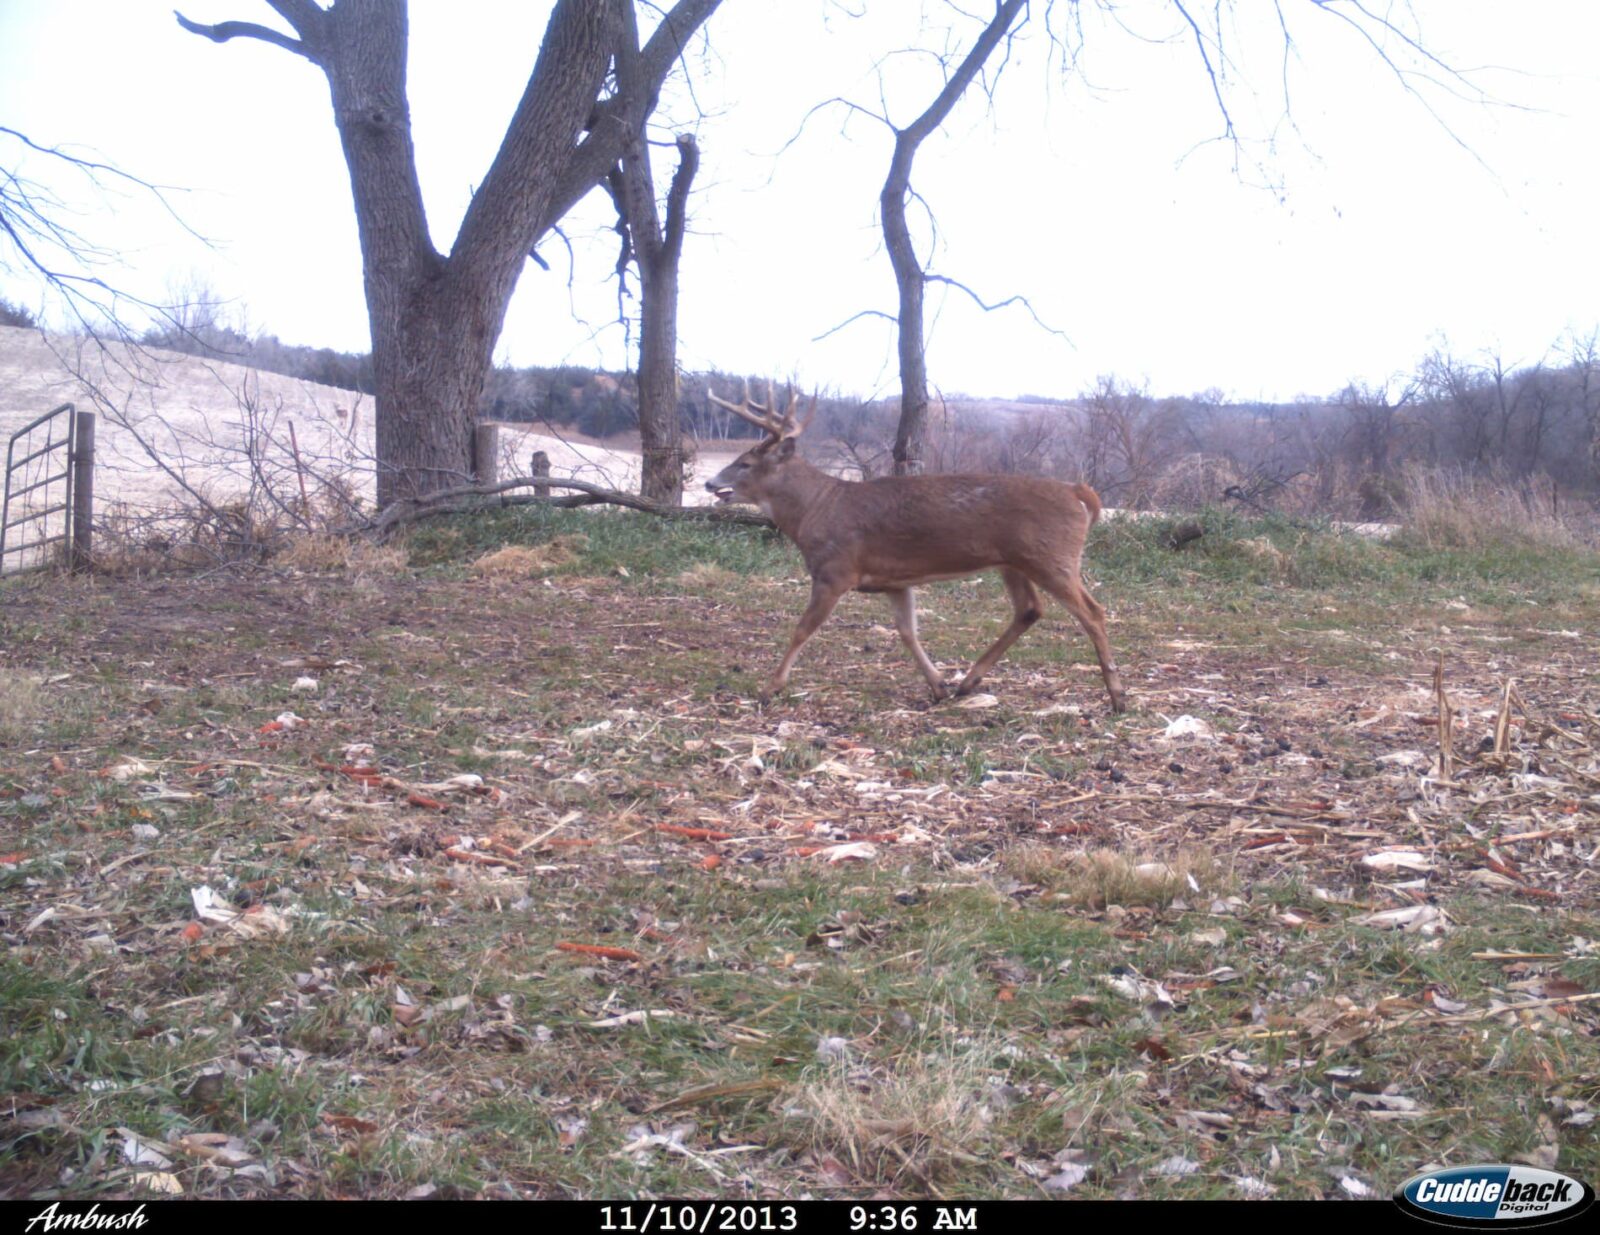
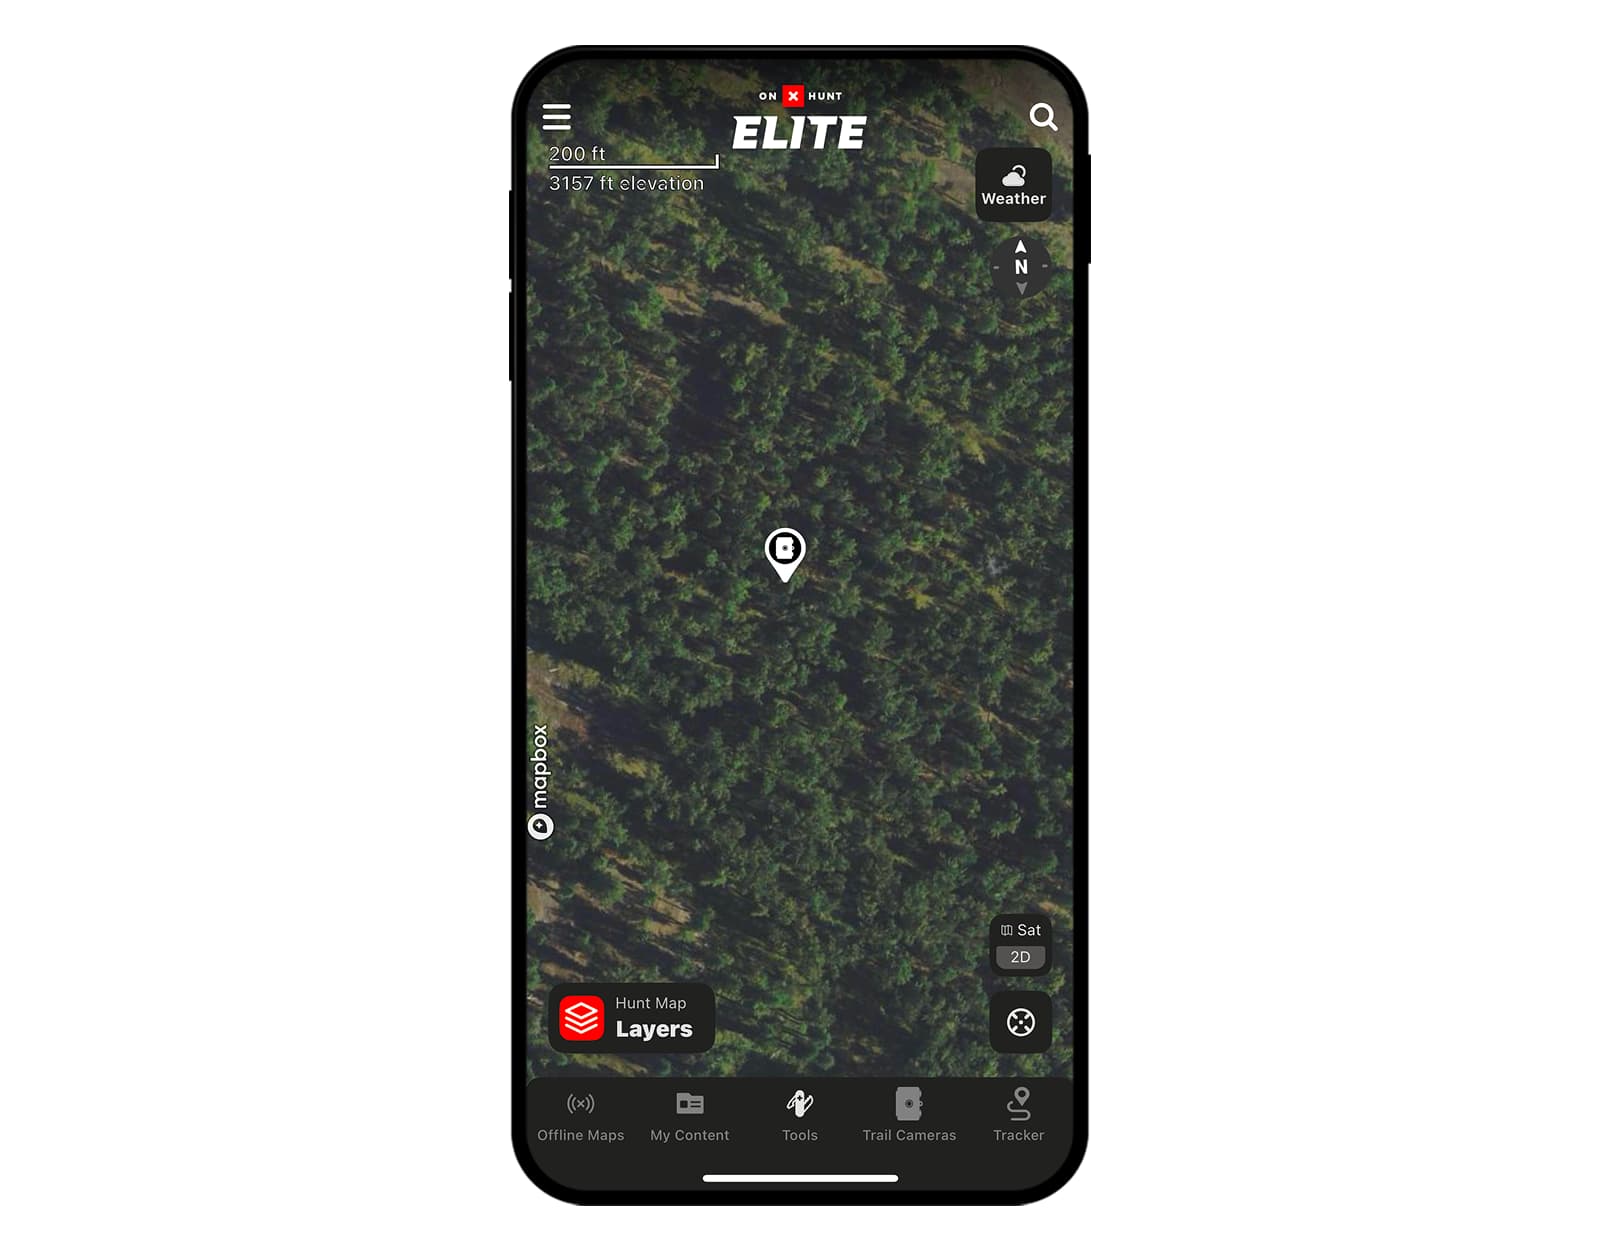
Low-Lying Terrain Trail Cam Placement Example
Another example of deer using the path of least resistance while also keeping themselves concealed. This ditch not only offers easier walking than the multiple log jams from past high water on both sides, but the four or so foot depression keeps them out of view from most every direction as they head back to bed.
Every camera you hang has a job. Use the map to build your plan, confirm it with real deer behavior caught on camera, and let data, not guesswork, guide your season.