TRENDING NOW
What’s Popular
From a Colorado mountain goat hunt to calling in coyotes, here’s what everyone’s reading.
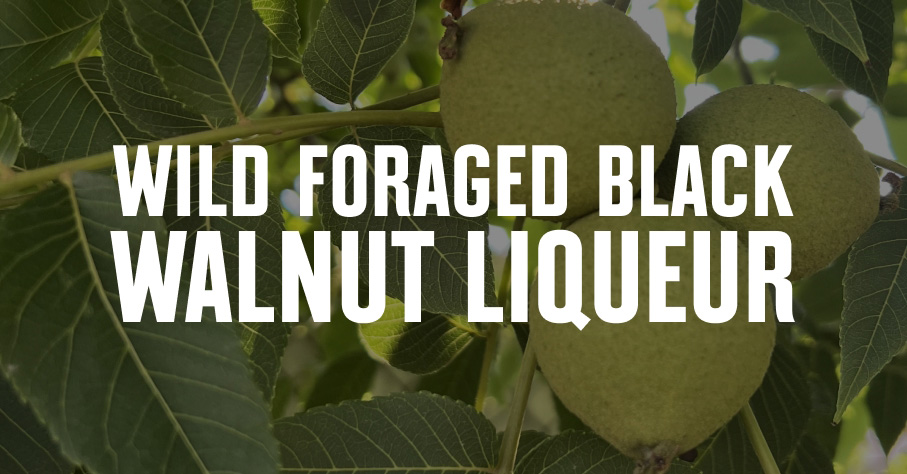
Food & Cooking
Using wild foraged black walnuts, Chef Michael Hunter shows us how to turn this wild nut into nocino.
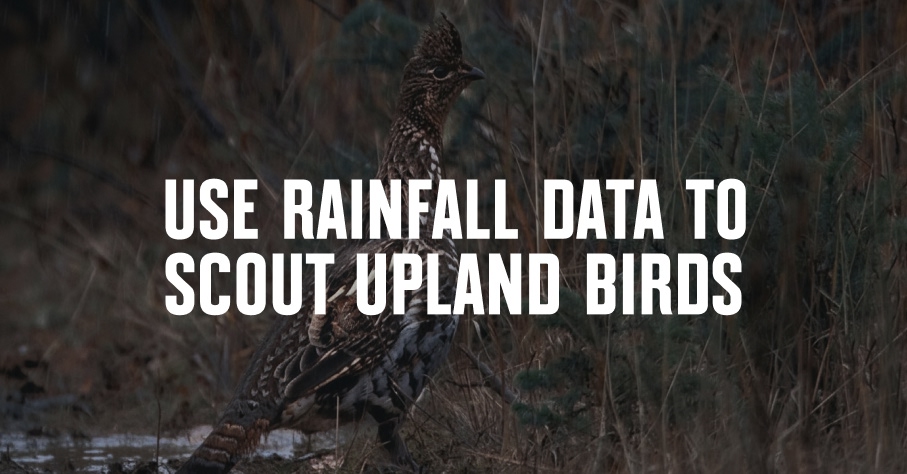
Research & Planning
Instead of asking “where are the birds,” ask “where aren’t they, and why?” See how to use rainfall data to eliminate country.
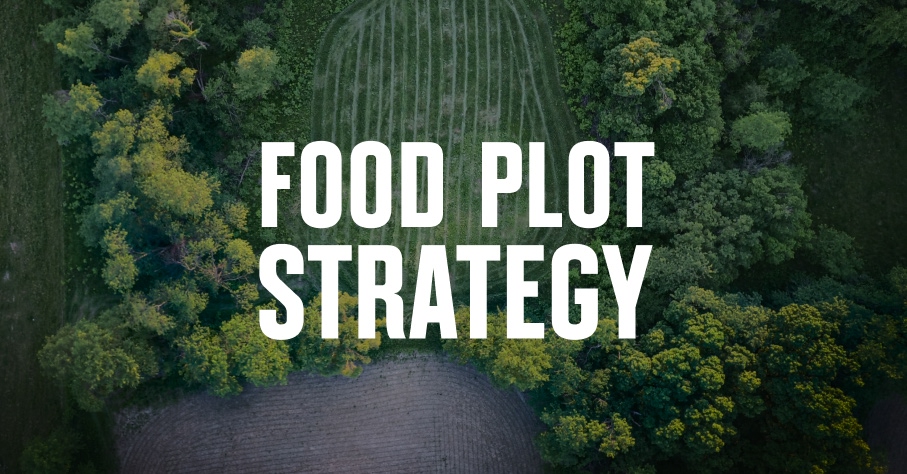
Learn
A lot of hunters have a fall food plot; fewer have a strategy behind it. We break down which forages suit each hunting window, when to plant them by region, and why to split planting into two phases.
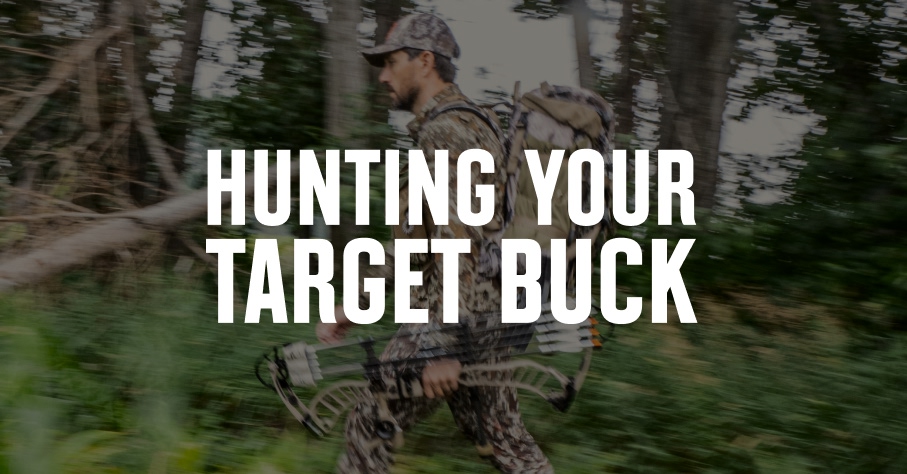
Learn
That big whitetail buck you hunted last fall is still out there. He survived the season. He’s a year older and likely bigger. Here’s what to know about whitetail deer patterns to hunt him this fall.
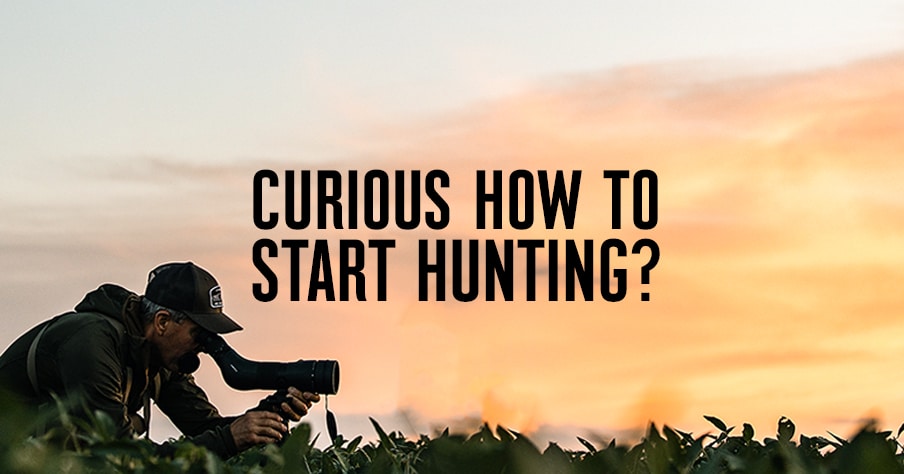
Learn
A guide for new adult hunters to learn the basics of how to start hunting. From licenses to learning hunter’s safety, this is how and where to start.
Corner crossing is back in the news. Read our original report to get up to speed on the background.