When it comes to physically locating big game animals in the least intrusive way possible, glassing far and away takes the cake and runs with it. It allows us to, from afar, meticulously survey the surrounding country for whatever we seek. This is one of the beautiful things about this hunting tactic—it isn’t species-specific. As long as there is a view, a hunter can use glassing to their advantage. Doing so goes a bit deeper than simply looking through optics, though. There are some ways to be more efficient and more effective behind the glass than others.
Finding Glassing Locations
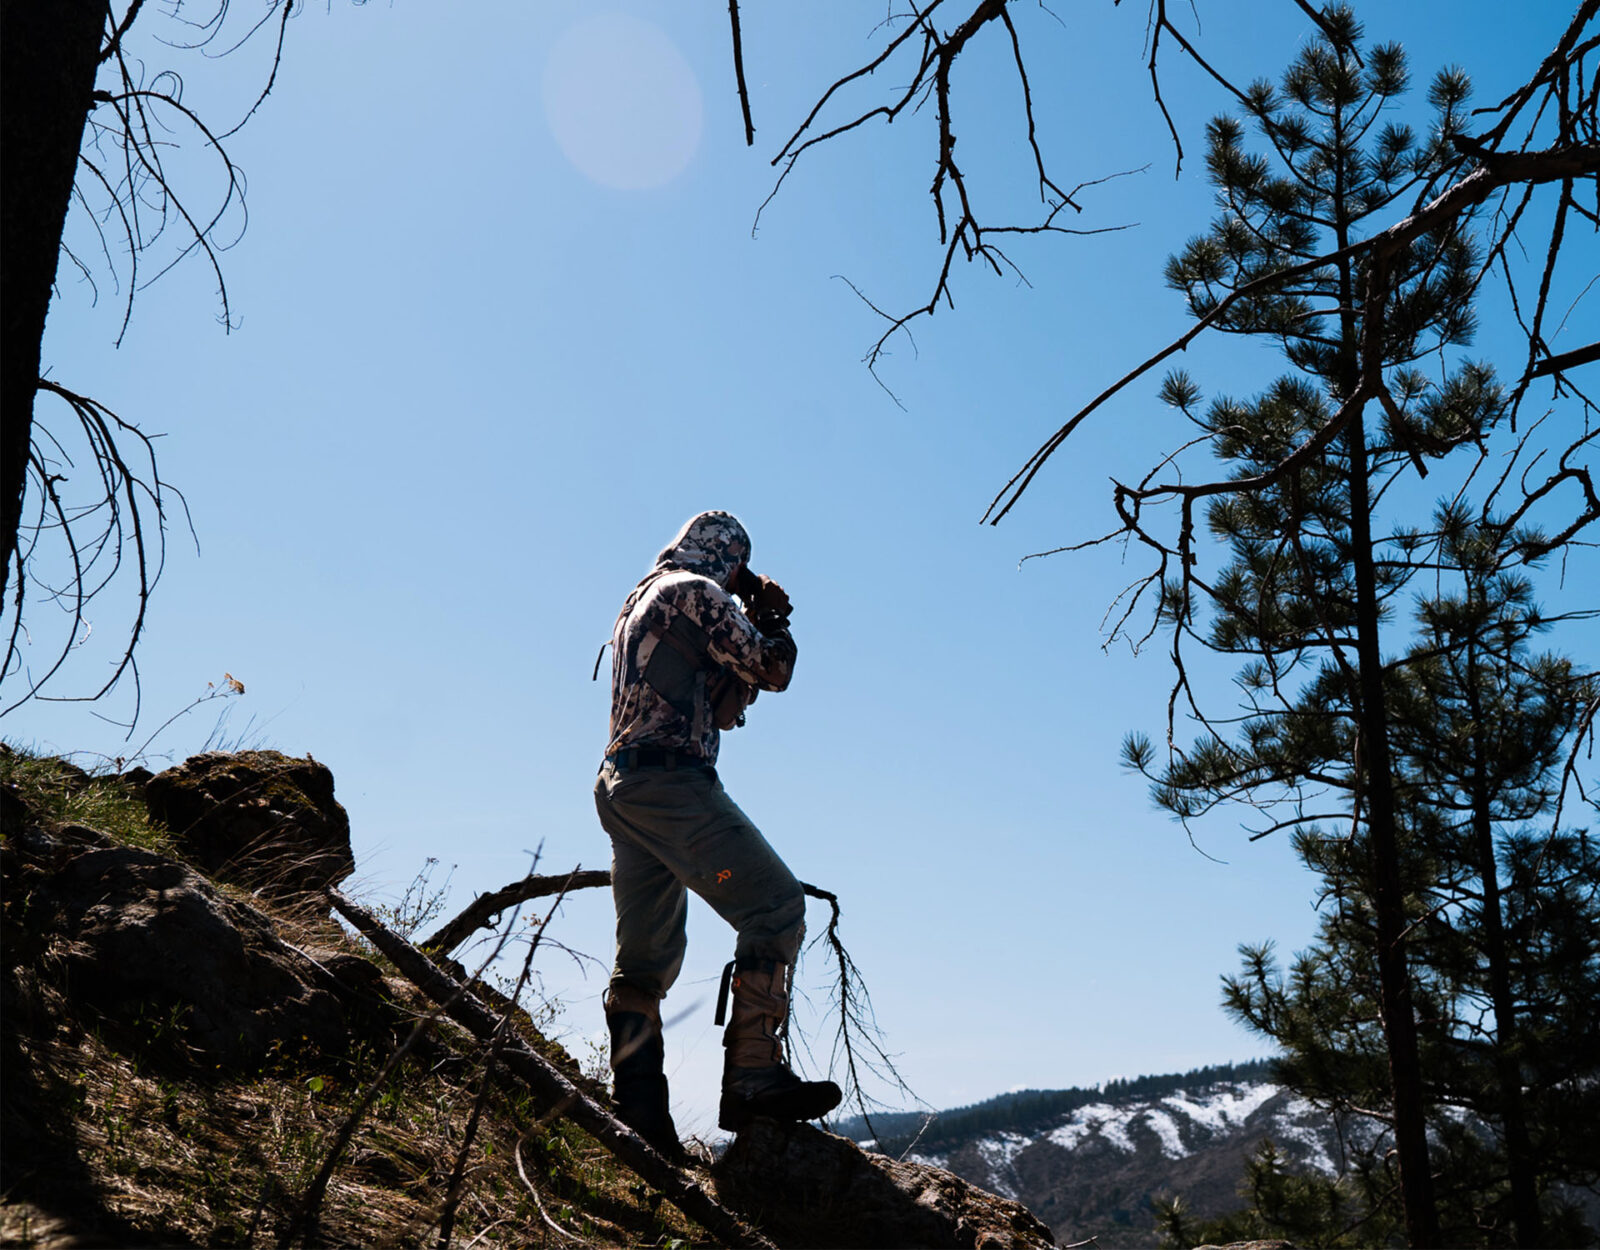
First thing, first. To successfully glass up animals we need to find areas we can glass from. Glassing locations will serve as lookout points for us. And not just one; I like to personally find a string of them. Something like a long ridgeline where I can look off of both sides. Planning a route of glassing points like this that cater to where I want to be looking throughout the day is key for a higher likelihood of seeing animals.
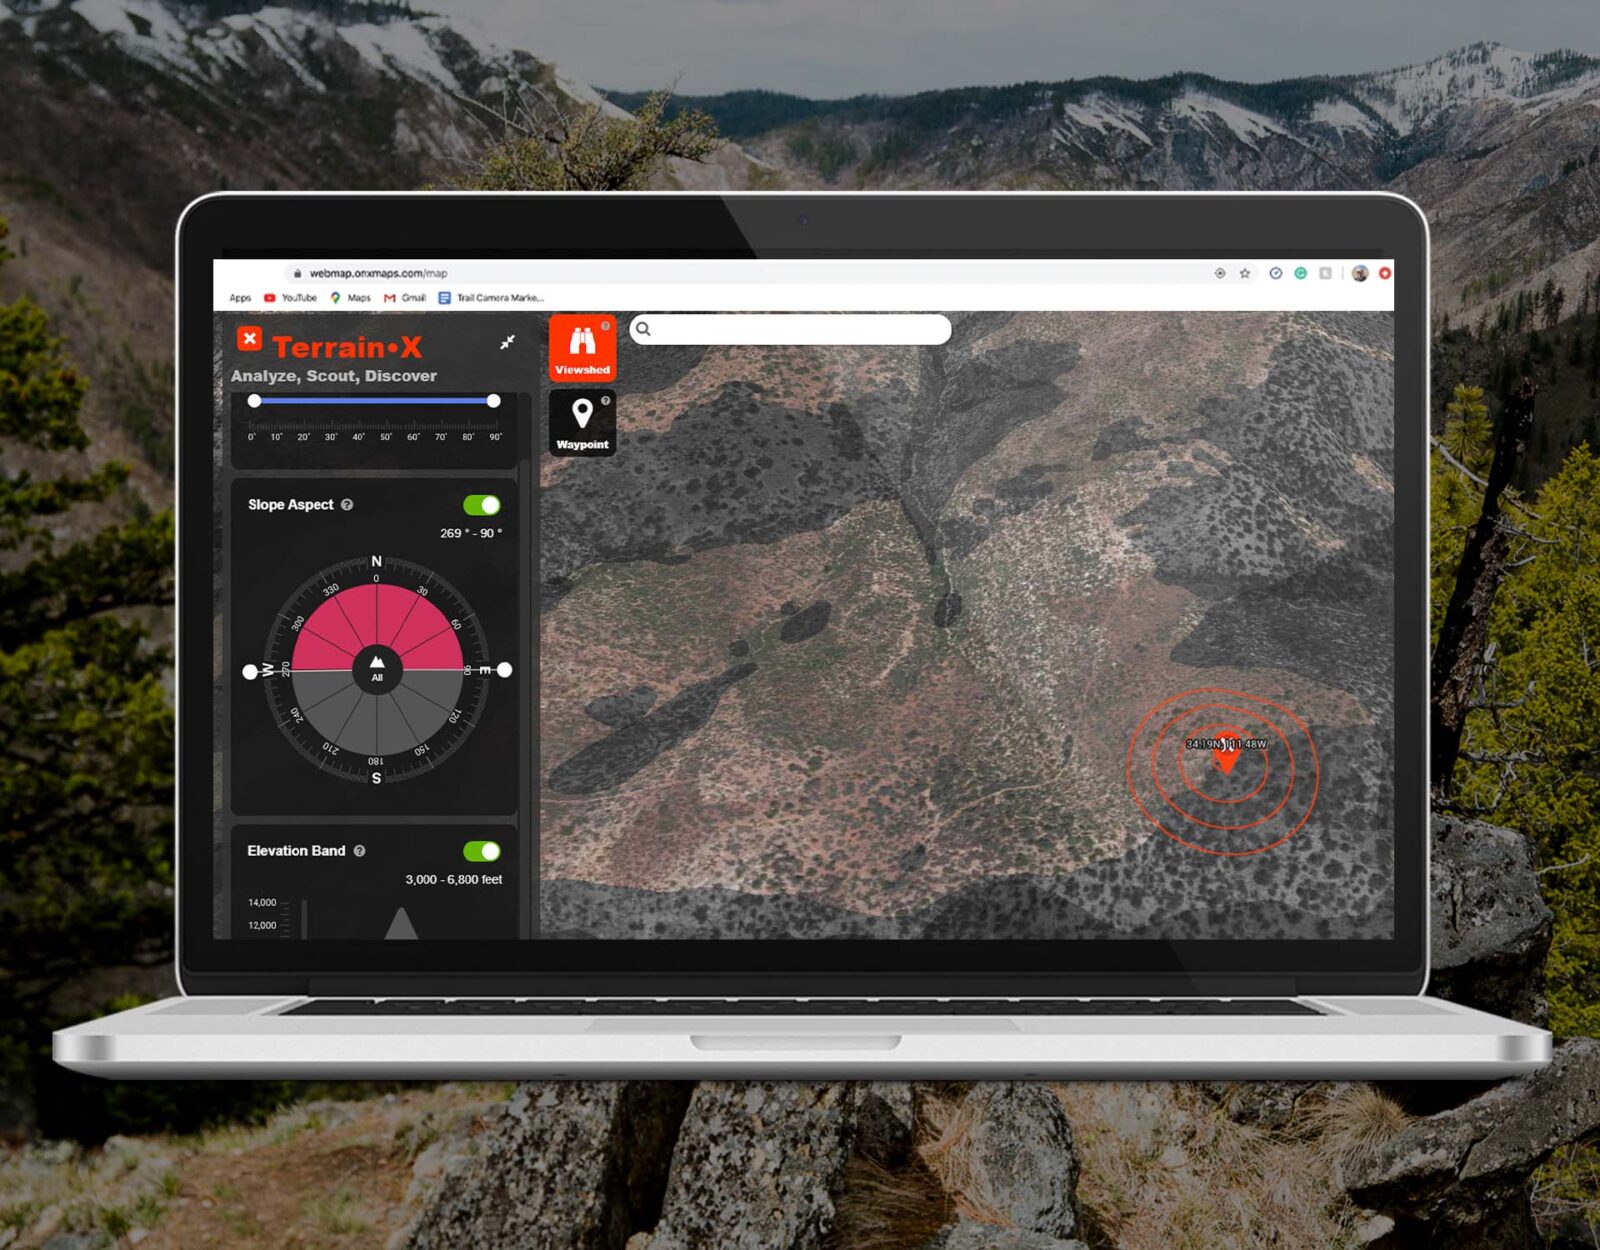
The best way I’ve found to do this is by using a Hybrid/Topo Basemap, 3D mapping, and a new feature from onX called TerrainX (more specifically the Viewshed tool within TerrainX). I use these tools to help me paint a very clear picture of what I’m walking into before I even get there. Throughout this process, I’m also saving Waypoints or areas of interest, and I love using the line distance tool to give more perspective on distance from point A to point B as well as to shed light on possible locations to shoot from based on distance.
Before we move on, I just want to say that even with these incredible tools at our fingertips, boot-checking areas is still important. So if you can, make that happen before the season.
Choosing the Right Optic
Once we have an idea of where we are hunting, it’s time to figure out what optic is right for us. Certain optics will shine more in certain situations. For instance, big, wide-open country will call for a larger magnification of optic. Whereas in more dense areas or country that is a bit more choked up, something smaller will work just fine, simply because you’re not looking as far. It’s also important to pay attention to our goals. Folks looking for a certain caliber of animal might want a higher magnification.
Now in a perfect world, we’d have the best tool for the job we can time after time. The reality is, though, that not everyone has the means to own a ton of optics. So, we need something that can do it all, or at least most. A system that will cover all bases.
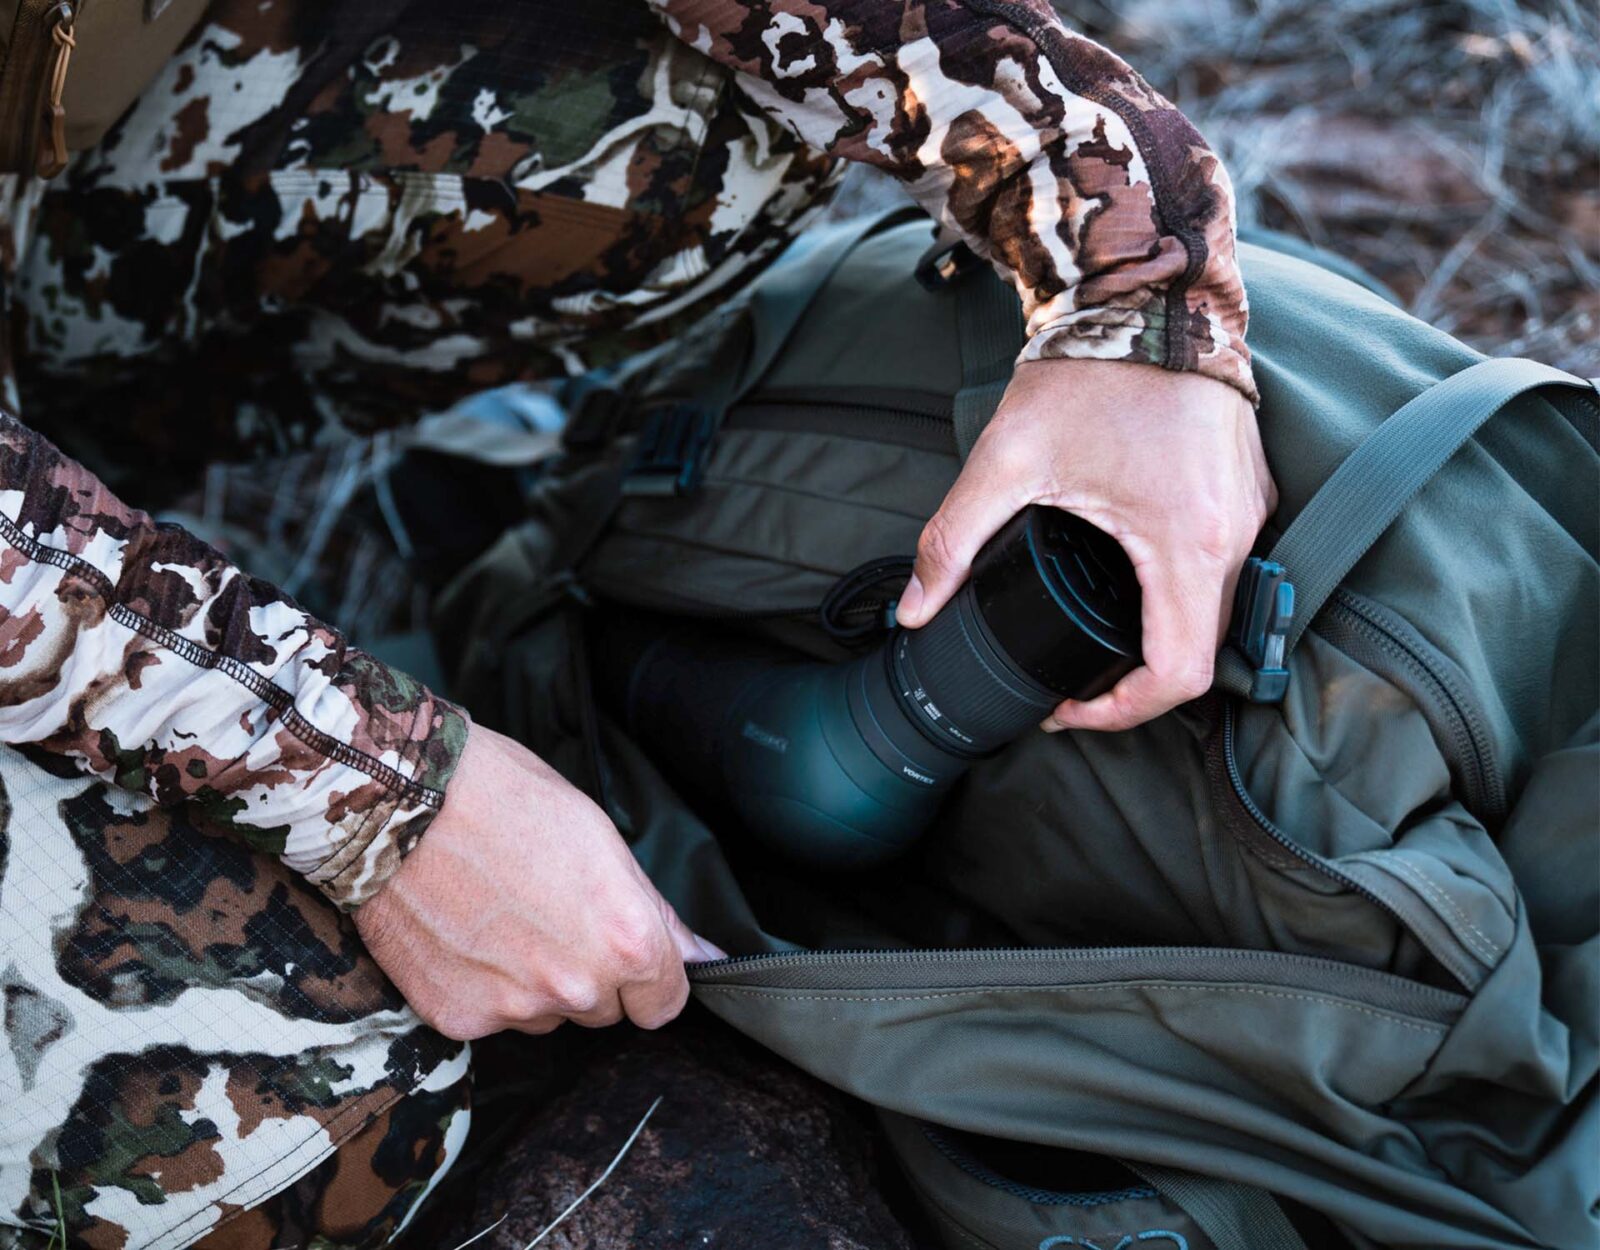
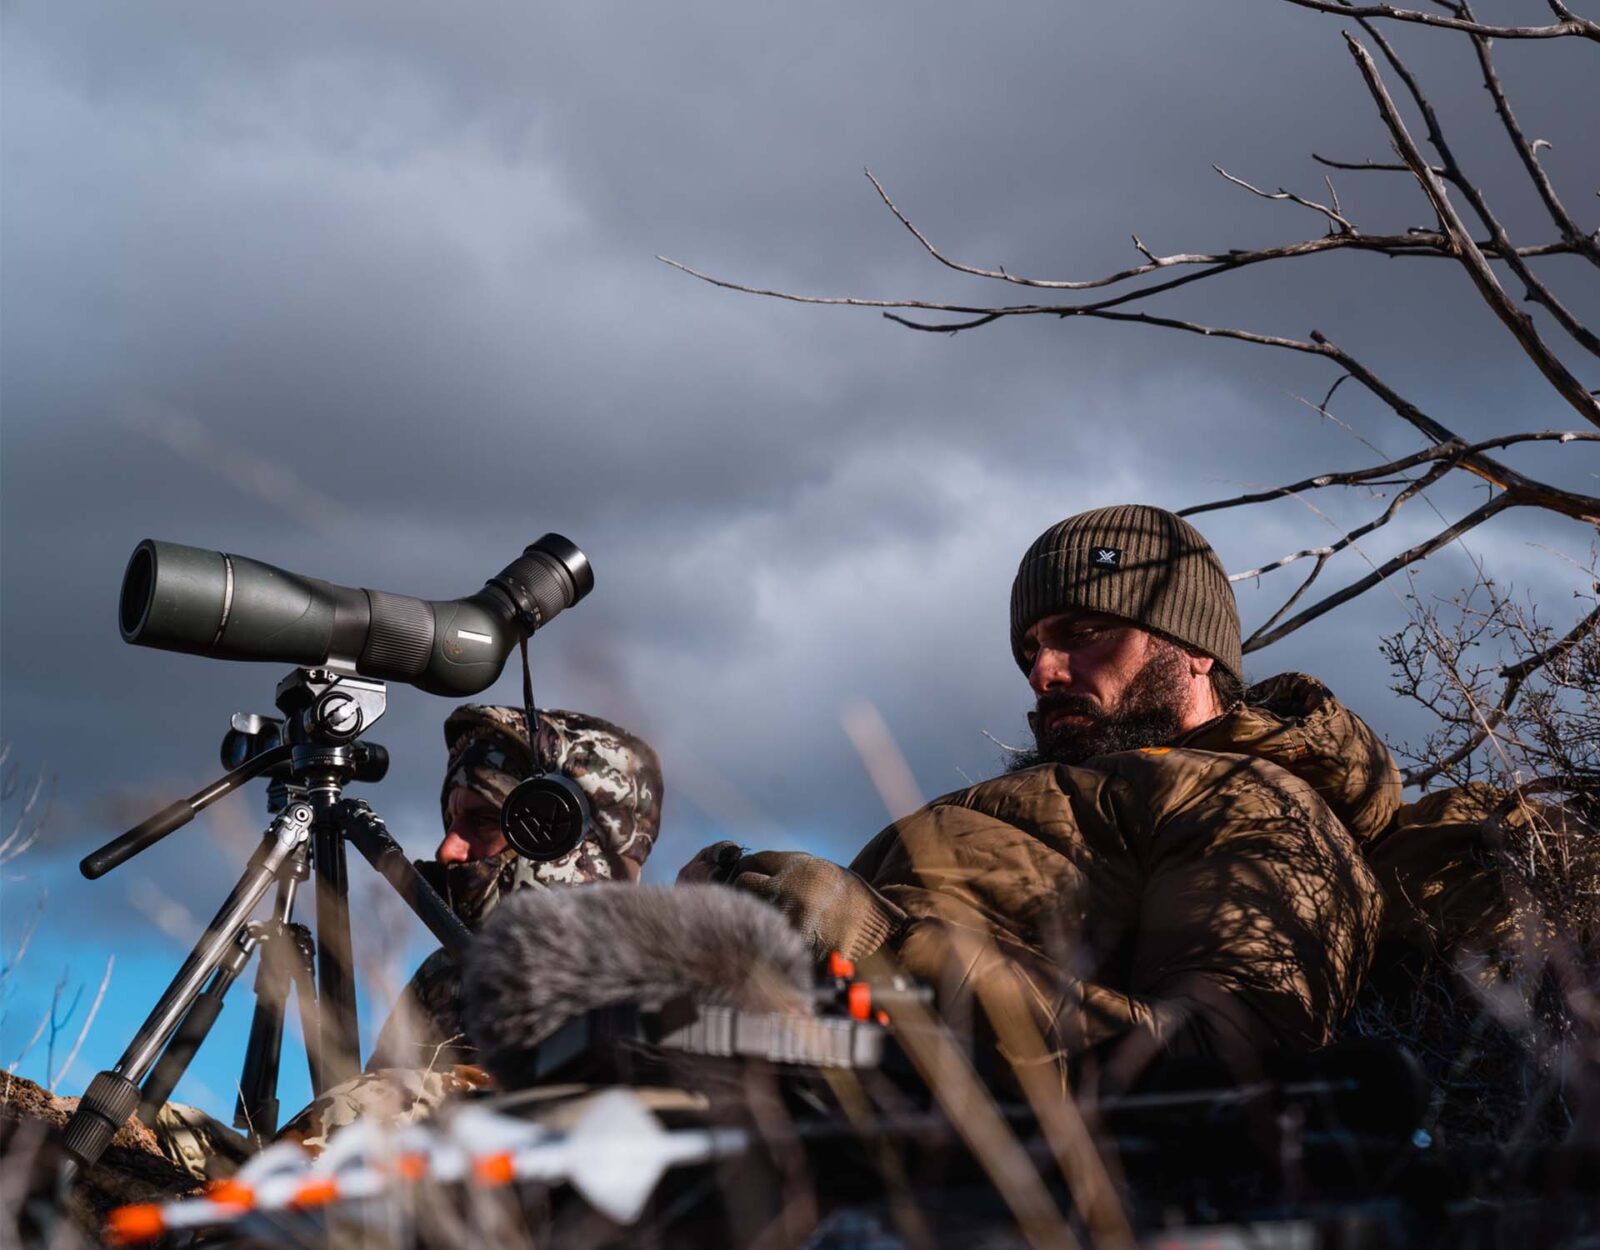
In my opinion, the 10×42 binocular is the most versatile magnification of binoculars on the market. It’s small enough to be able to freehand but has enough punch to throw on a tripod for more meticulous glassing sessions without giving up a wide field of view like bigger magnifications are known to do. If I do need to reach farther out, I much prefer carrying a spotting scope as well. I like anything between 50mm up to 65mm. This system allows me to handle almost anything and if I don’t need the spotter, I won’t bring it along.
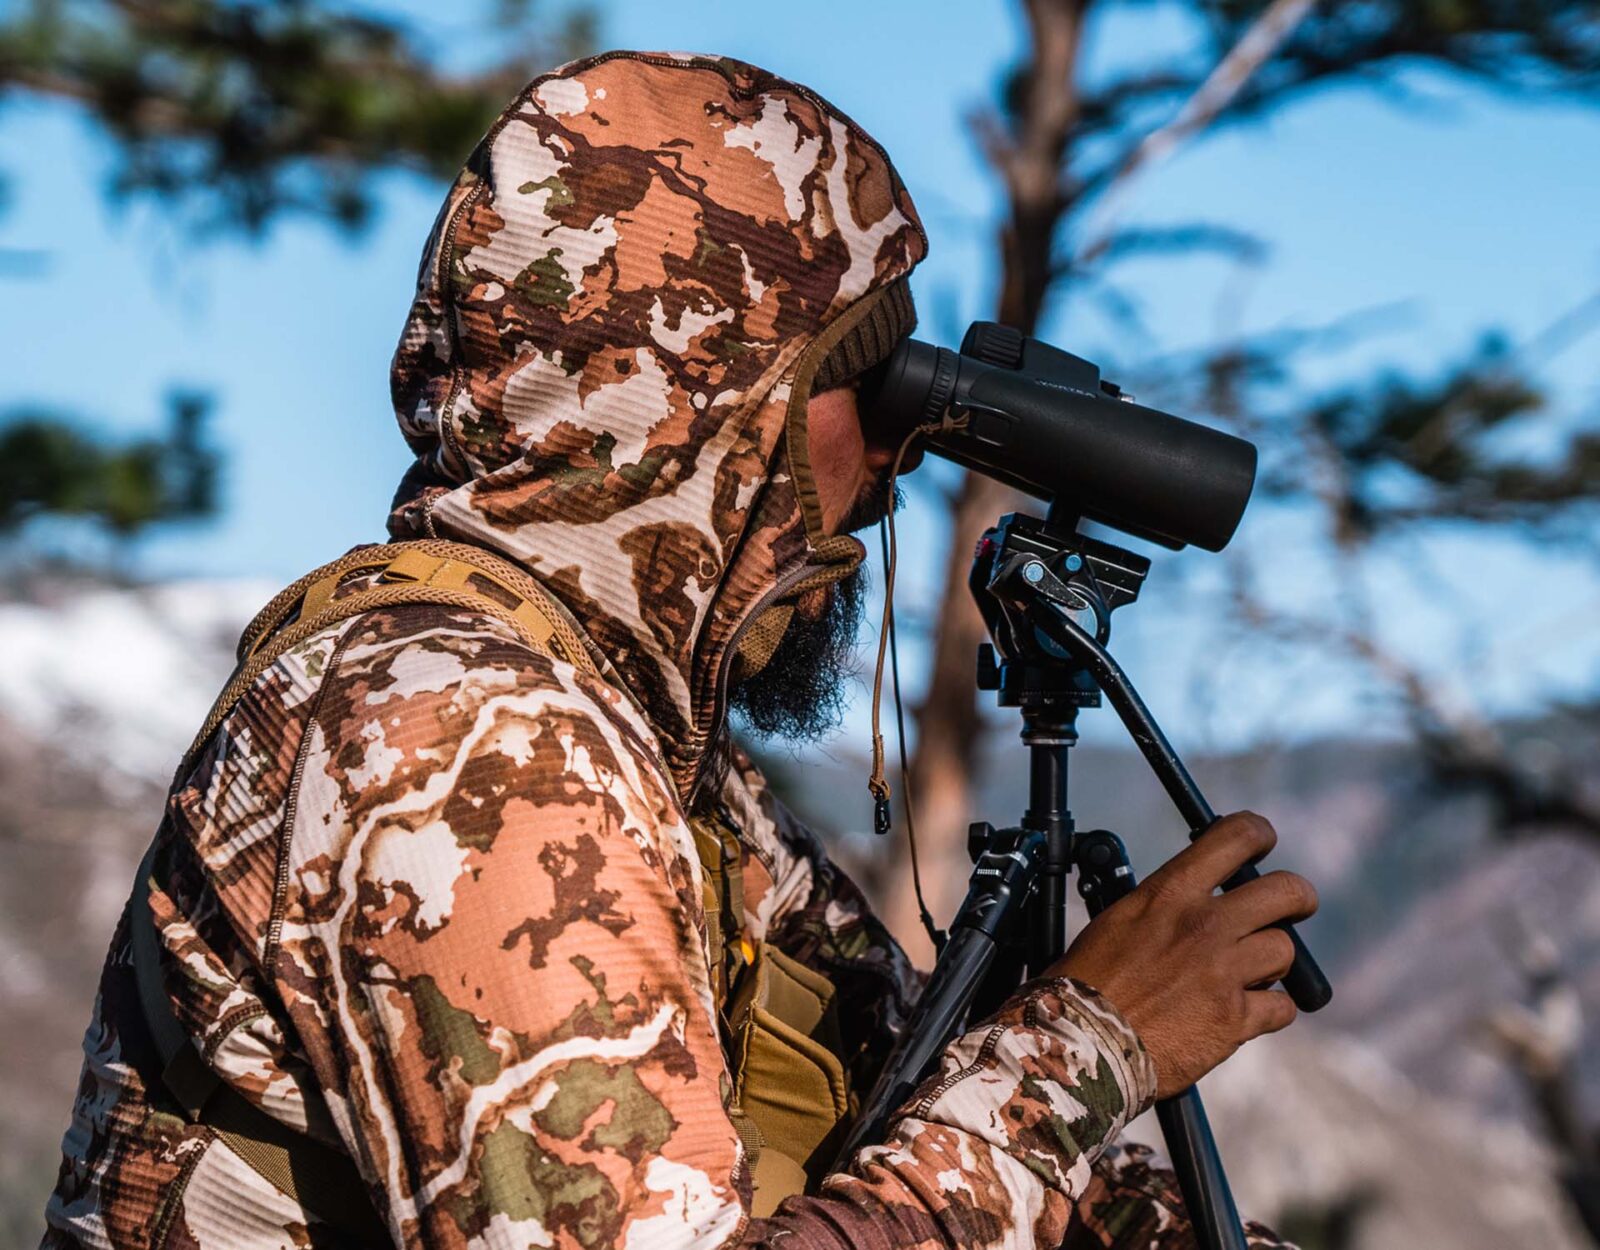
With your optics, having a tripod and a fluid pan head is essential for efficient glassing. They stabilize our optics and allow us to notice movement much better than without. For quick on-the-go stabilization a trekking pole works great, as does the limb of your bow or even the brim of your hat.
At the end of the day, everyone has a budget here. The best advice I can give here is to buy what you can afford and go afield. Don’t feel like you’ve gotta take out a second mortgage in the name of optics. You don’t. Get what you can get and learn how to use it.
Techniques
The first thing I do when I arrive at a glassing location is not glass, but actually look around with my naked eye. An obvious critter could be standing out like a sore thumb that I might not see as quickly had I pulled the binos out immediately. It’s happened to me.
Once I do grab my optics, I’m actually repeating the above. I’ll look close and in obvious areas first. These are spots where I assume animals might be hanging out; areas like edge habitat are the low-hanging fruit of the area. After doing so, I’ll sit down and mount my optics on a tripod for a slower look at everything.
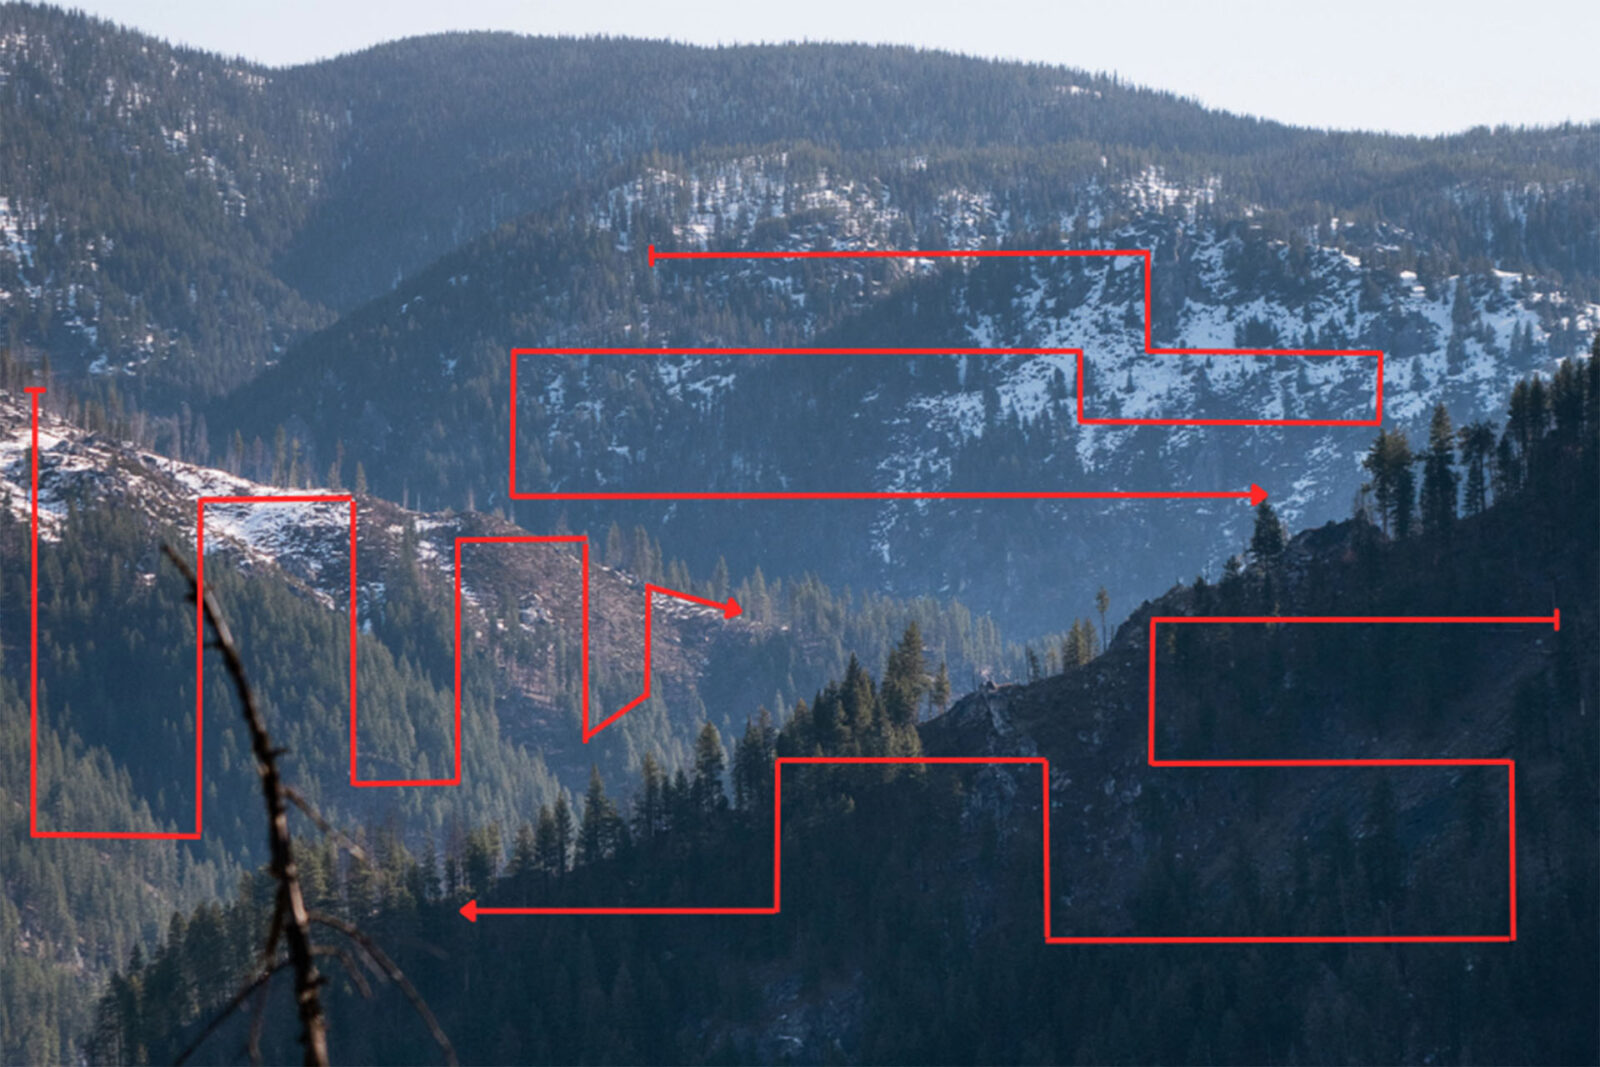
Especially in huge country, covering everything efficiently can be quite daunting. Because of this, I like to break the landscape up into sections. Within each one of those sections, I’ll use my fluid pan head to grid search with my optics. From section to section, I’ll repeat this. And if I’m looking into denser vegetation or trying to spot animals bedded, I’ll actually grid search with my eyes while my pan head is locked in place. This really breaks things down.
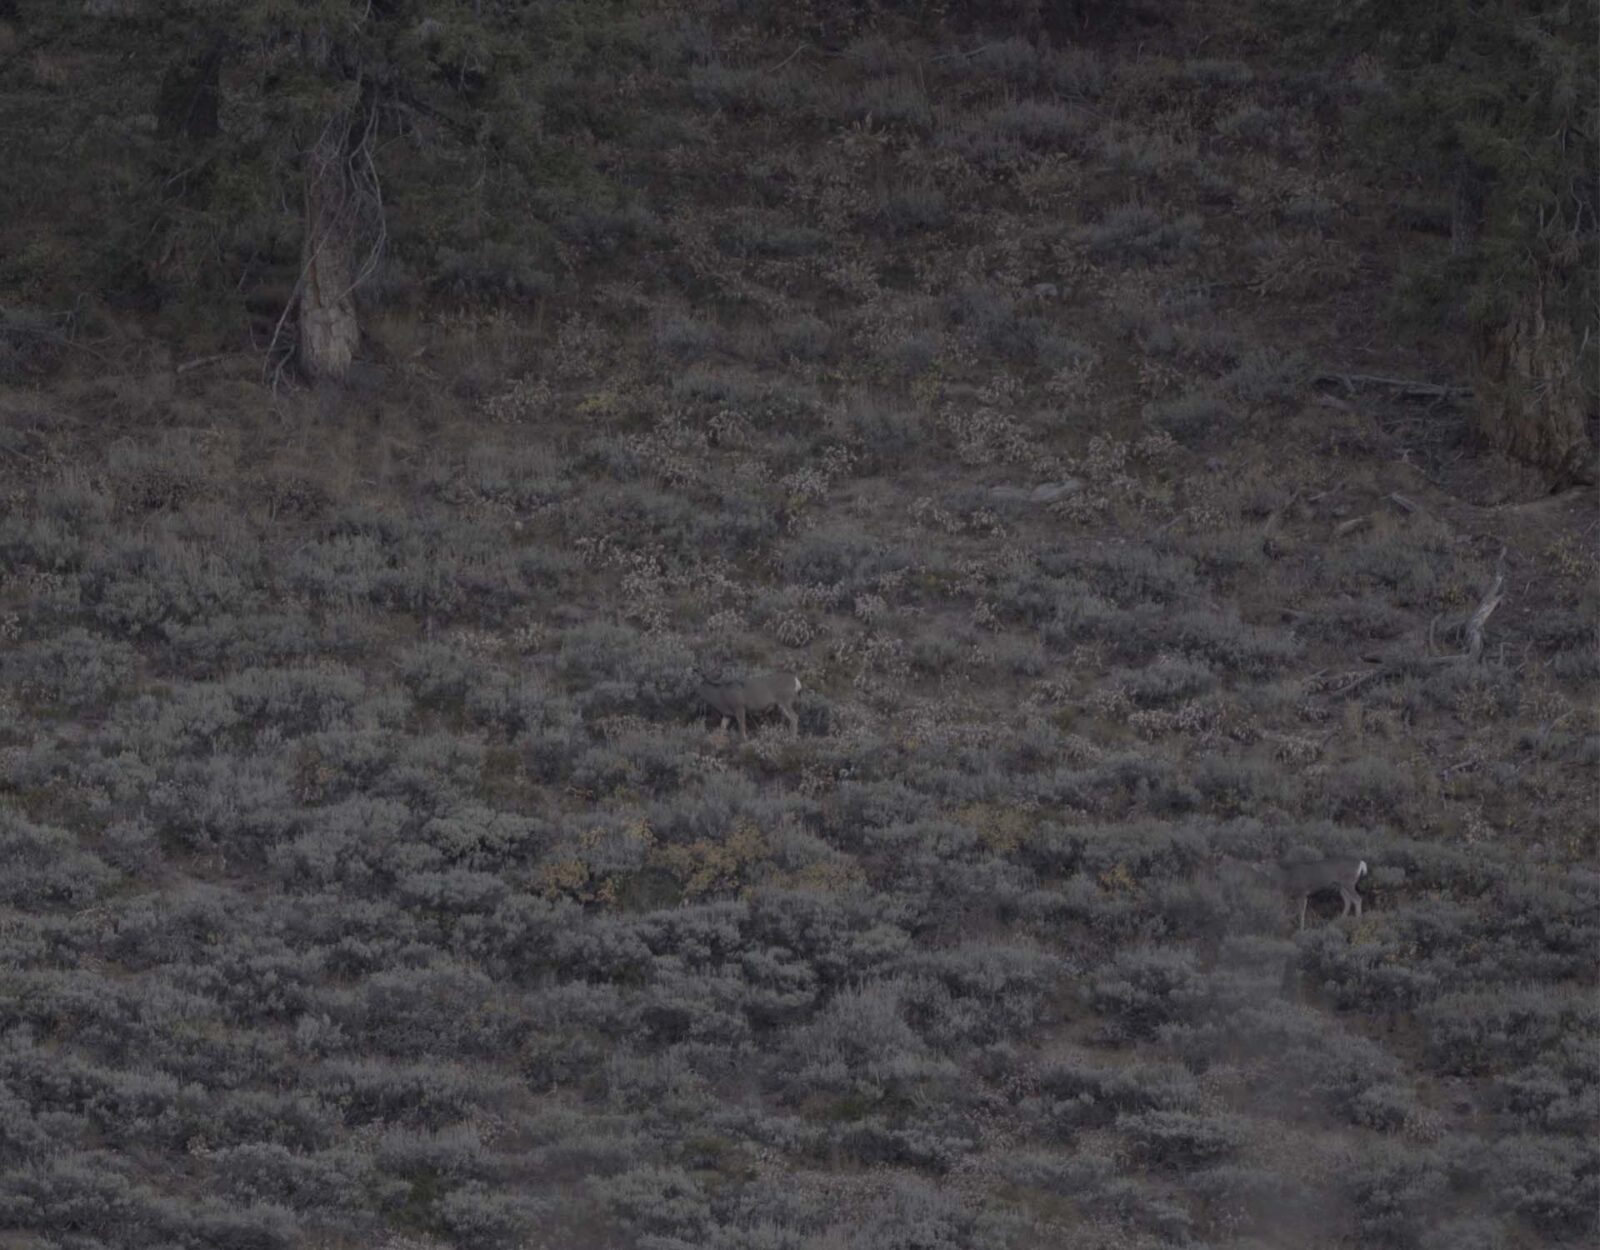
We are trying to find irregularities in the landscape, things that break the natural flow of what’s in front of us. Horizontal lines, texture, color, parts of animals (not whole animals), and of course movement. When paying attention, these things will stand out.
Time Allocation
How long I spend at each glassing point depends on a few things. One is if I’m already familiar with the area. If I know there are animals there, I’ve been known to stay in one spot all day long. If it’s a new area, I’ll be more apt to cover ground as I learn the landscape. My view also is a factor. An area where I can see a ton demands more time than one where the view is limited. And then there is the time of year. During the deer rut, bucks can literally pop up at any time of the day. In the early season though, they are more grounded to certain zones and are far less likely to wander. This takes more bouncing around.
A good rule of thumb I like to use is the one-hour rule. With a good glassing route planned, I’ll spend one hour at a time at each spot before moving. It’s important to not move too fast. Spots need time to work; never assume you’ve uncovered everything in a matter of 10 minutes.
Throughout that time I’m also being cognizant of how much time I’ve got left in the day. In the morning, I’ve got literally all day. However, at the end of the day, time is limited. So I don’t want to put myself in an area at the end of the day where I’m not in striking distance, especially if it’s the end of my hunt. Towards the beginning, I don’t have a problem burning an evening though, as it gives me something to work off of the next day.
Final Thoughts
Learning how to glass is not something that happens overnight. It takes time to put the pieces together and figure out what works best for you, your style, and the country you’re hunting. Keep this in mind: like anything in life, if you want great results, you’ll need to apply great effort. And glassing does not drift from that logic in the least. Put the pieces together and you’ll start to see the big picture (not to mention that sly buck).