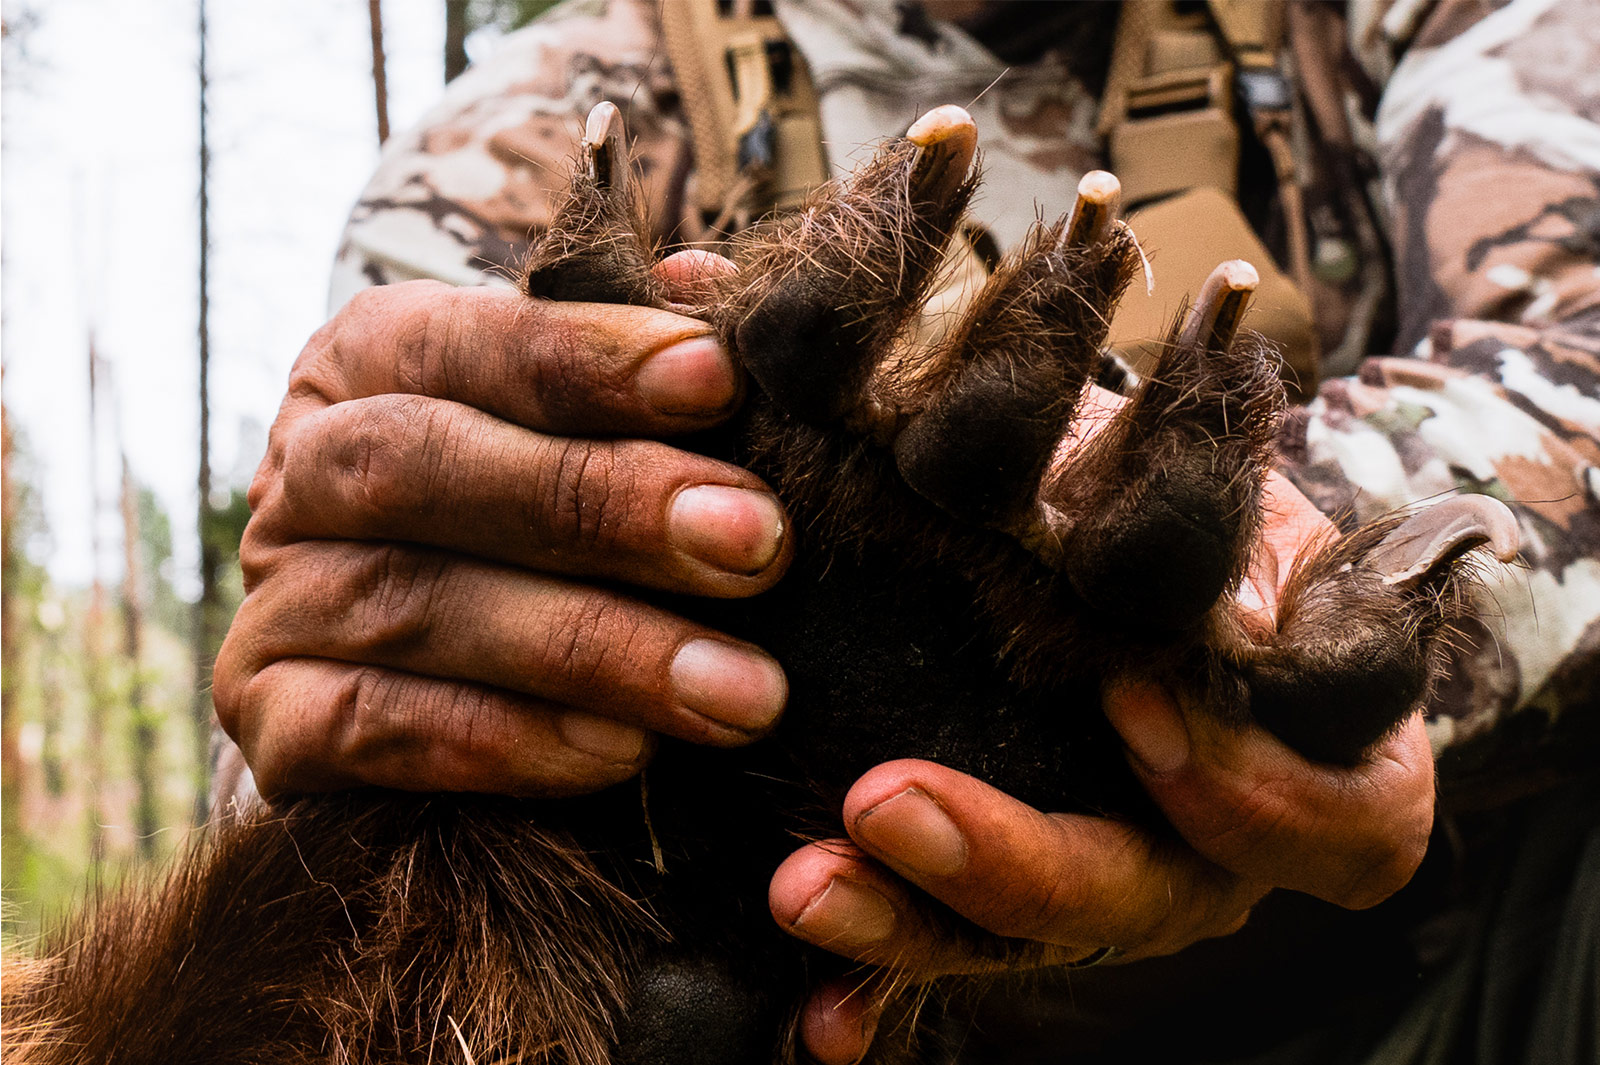
The level of proficiency in e-scouting these days is a stark difference from what it was even just 10-12 years ago. The term used to mean when folks were searching for info on hunting forums. Nowadays, with high-end digital mapping like onX Hunt, it’s uncanny the information one can gather, and it only keeps getting more and more efficient with each passing year. This year was no exception, with onX introducing TerrainX. It’s a game-changer and something from which I feel all hunters can benefit.
What Is TerrainX?
Before I get into how I personally used TerrainX this past spring bear season, let’s briefly cover what it actually is. At the moment, TerrainX is a tool within onX Hunt that is only available on desktop to Elite Members. As you’d guess from the name, TerrainX is made to analyze the terrain. Slope angle, elevation band, slope aspect, and even what our view will be from specified points on the map.
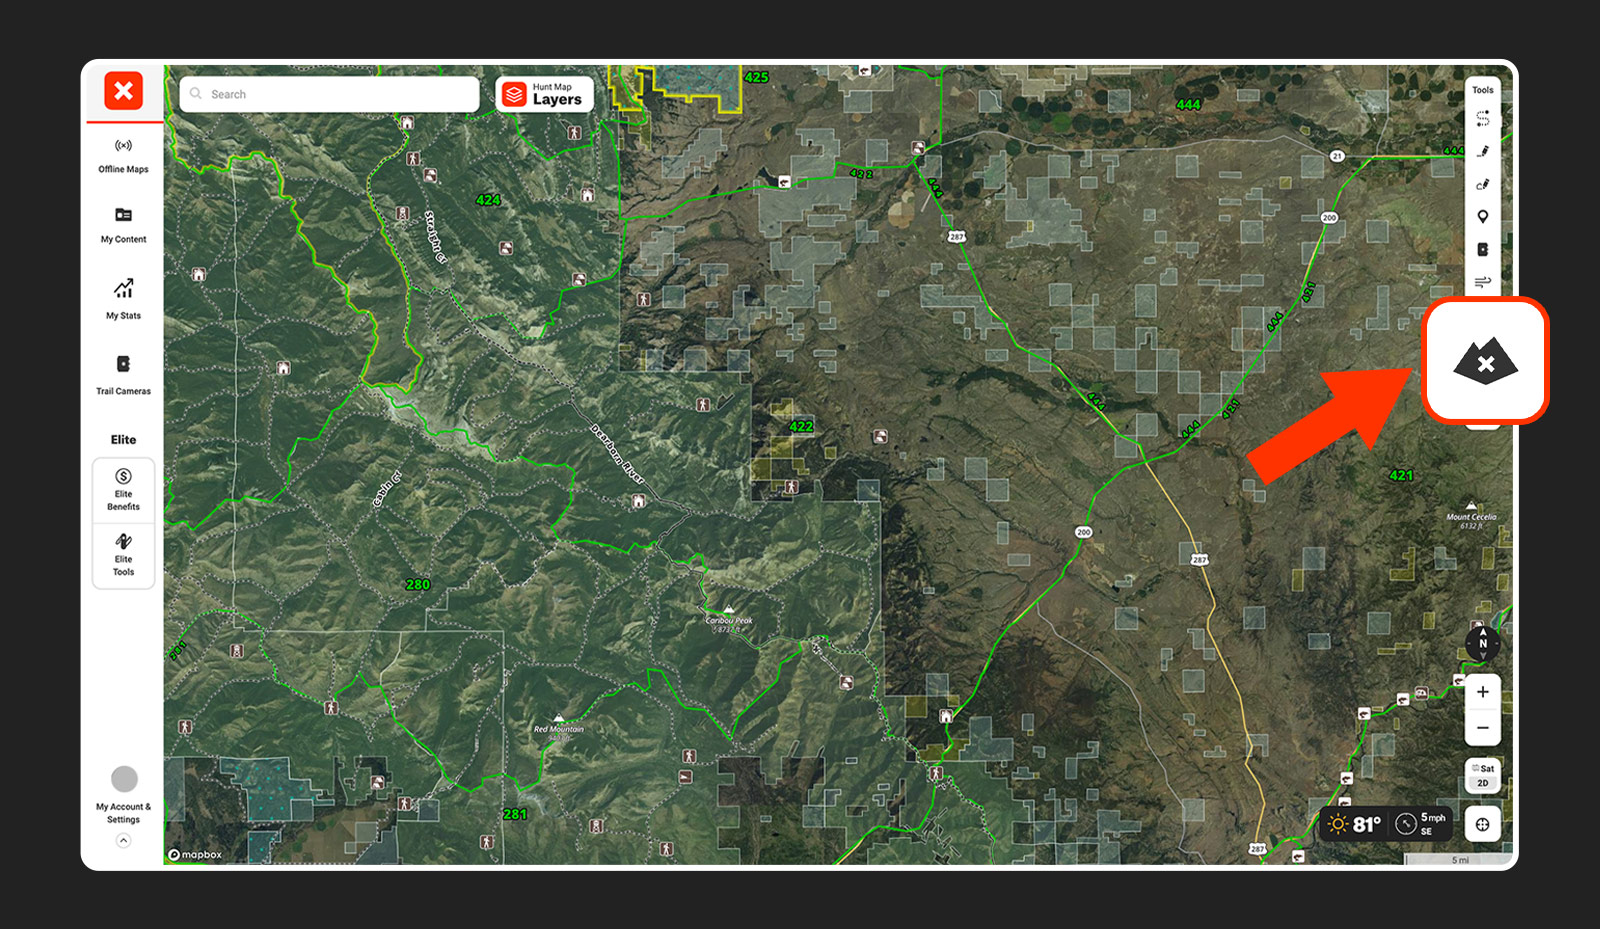
With your onX Hunt map open, there is a little mountain with an X on it on the right-hand side of your screen. That is the TerrainX button. Once you click it, you’ll be brought to a new window of the same map you were just looking at, but it looks a little bit different.
TerrainX Features
Below, I’ll go into the various features of TerrainX and how I applied those to my recent spring bear hunt.
Elevation Band
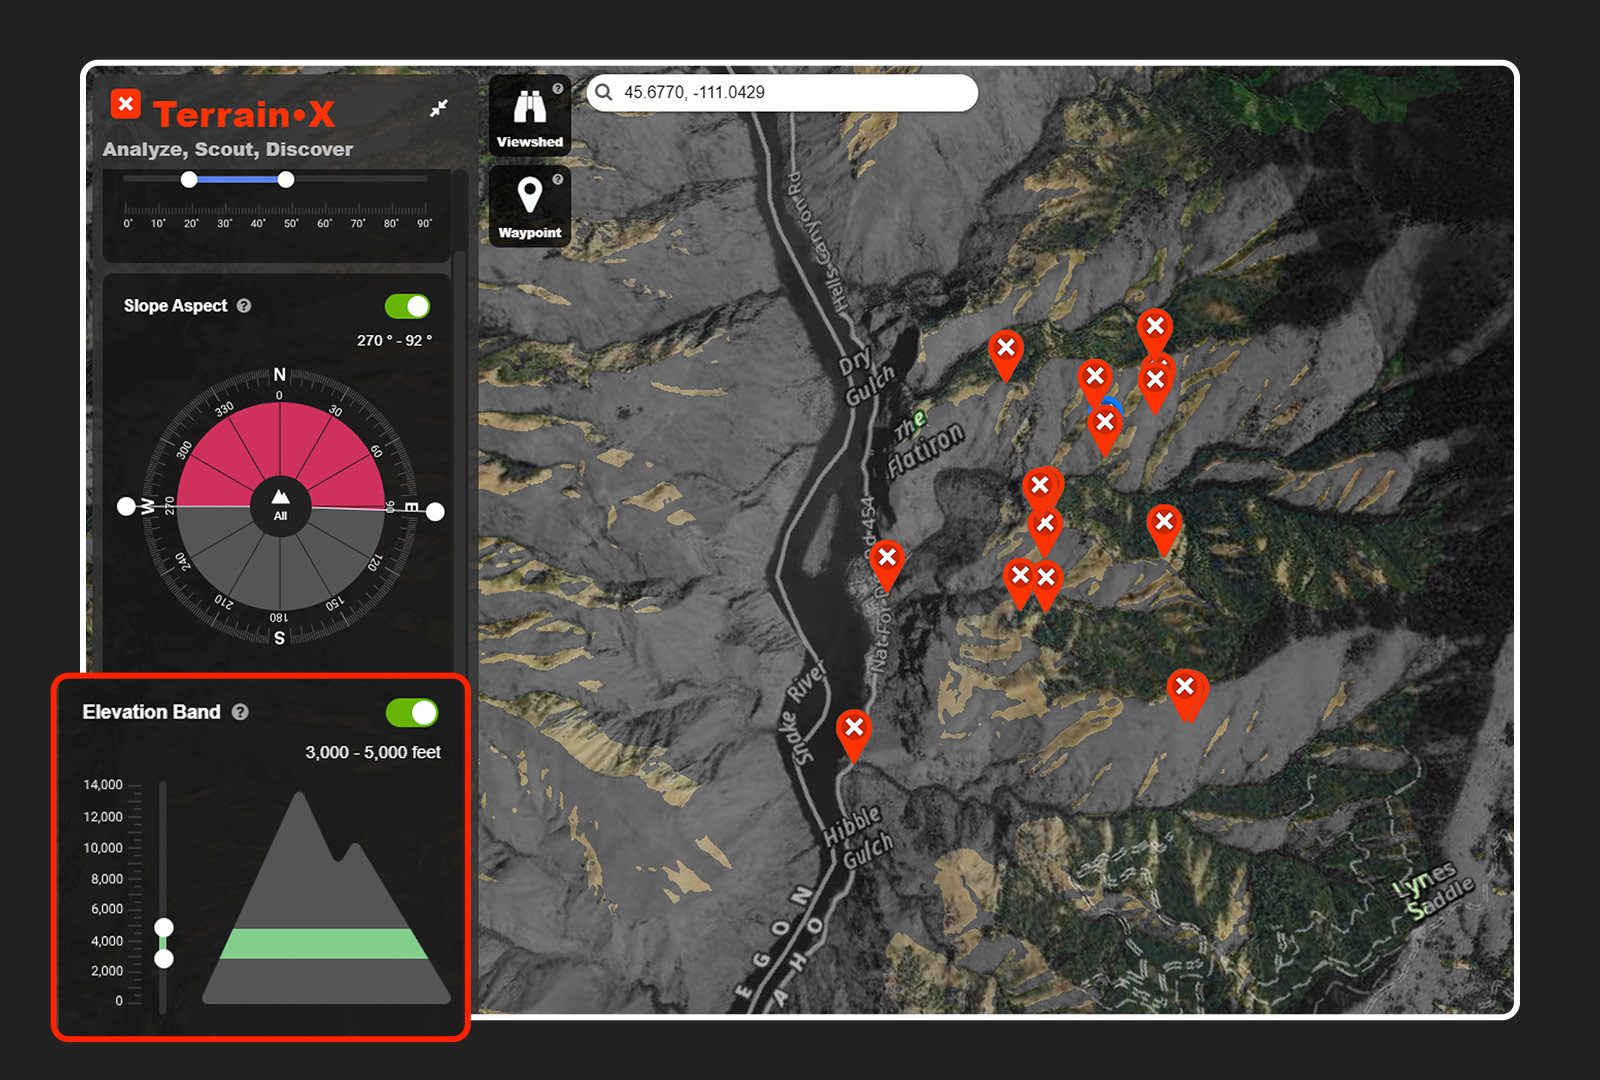
One of the most important keys to finding bears is elevation, and TerrainX helps immensely to condense that topographic information. Over on the left-hand side of the screen, you’ll see “Elevation Band.” Open that and you’ll see a mountain with a range of elevations and sliders. By moving those sliders up or down, you can actually set a certain range of elevation to be highlighted on the map. For me, that was between 3,000 to 5,000 feet. Now, everything in the unit I was looking at that falls inside of those parameters is lit up. Any areas that don’t remain shaded.
Slope Angle
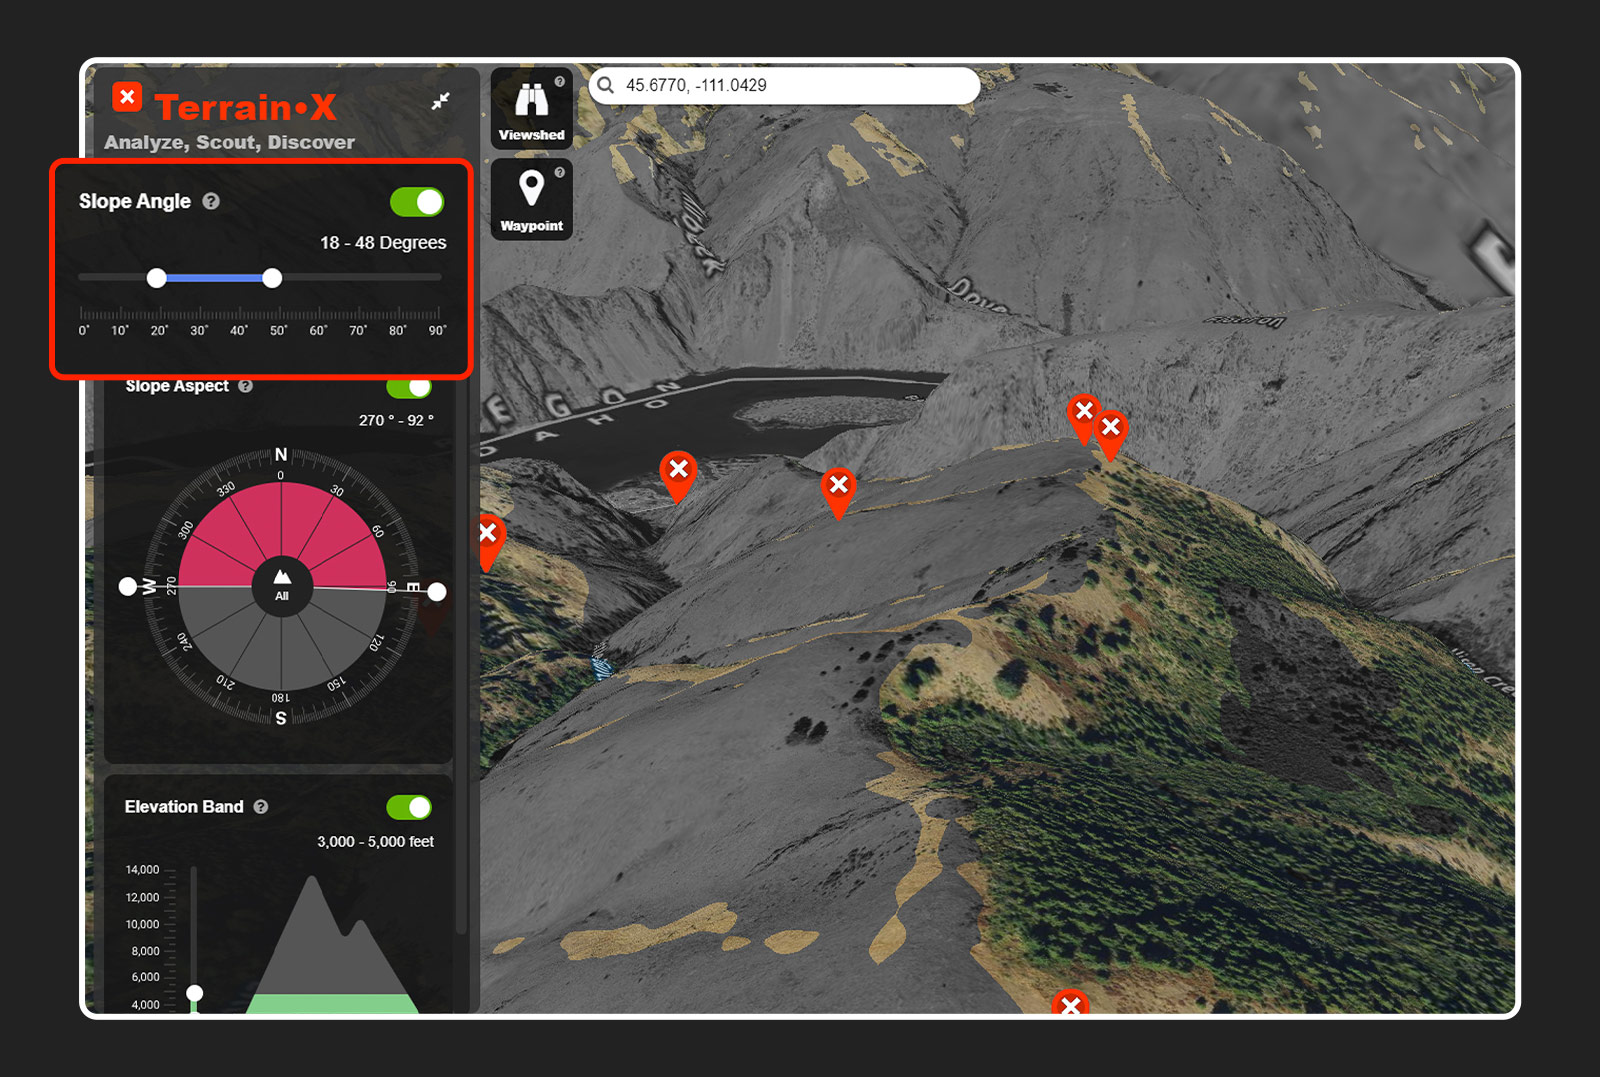
Bears like it steep and deep. Country that doesn’t reflect that is of no interest to me. Within TerrainX you can set a range of slope angles on which you’d like to focus your efforts. On the left-hand side of the screen, you’ll see “Slope Angle.” Clicking that will open a slider with a range of degrees. Set the desired range you’re looking for, and angles that meet your desires will be highlighted on the map. I set mine between 30 and 50 degrees. Doing this eliminated a lot of country and helped hone my focus.
Slope Aspect
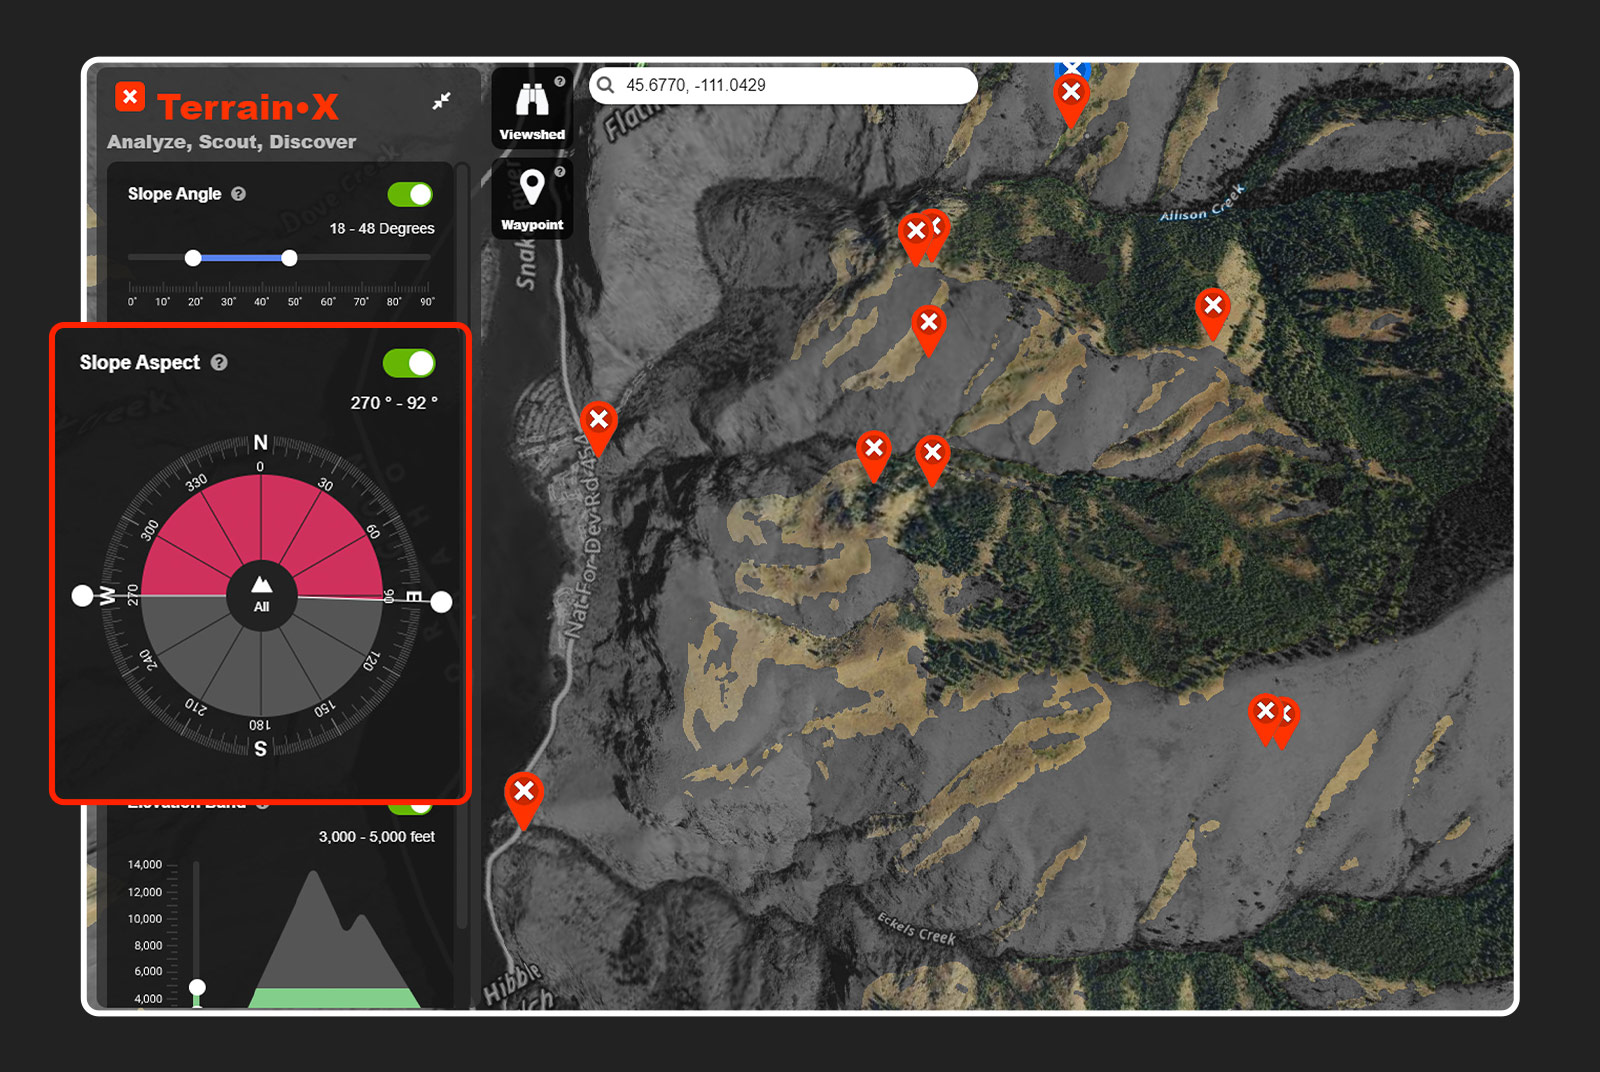
The direction a slope is facing is incredibly important to me for scouting spring black bears, and it helps me predict where bears are more likely to be and where they aren’t. With the Slope Aspect tool, that information is brought to light much easier. Over on the left-hand side of the screen, you’ll see the “Slope Aspect.” Clicking on that will open a sphere resembling a compass. By moving the sliders around the outside of the sphere, you’ll be able to set the slope aspect you’d like to be highlighted on the map. Anything in the sphere that is dark will not be highlighted on your map. I wanted to see all south-facing slopes, as that’s where the snow will melt quickest and where the first green-up will happen for the bears to eat.
Viewshed
Glassing is my preferred method of locating spring black bears, so I need visibility. I think we’re all familiar with dropping Waypoints on potential glassing points, but knowing what you’ll be able to see from them always remains to be seen. The Viewshed tool within TerrainX is a game-changer here.
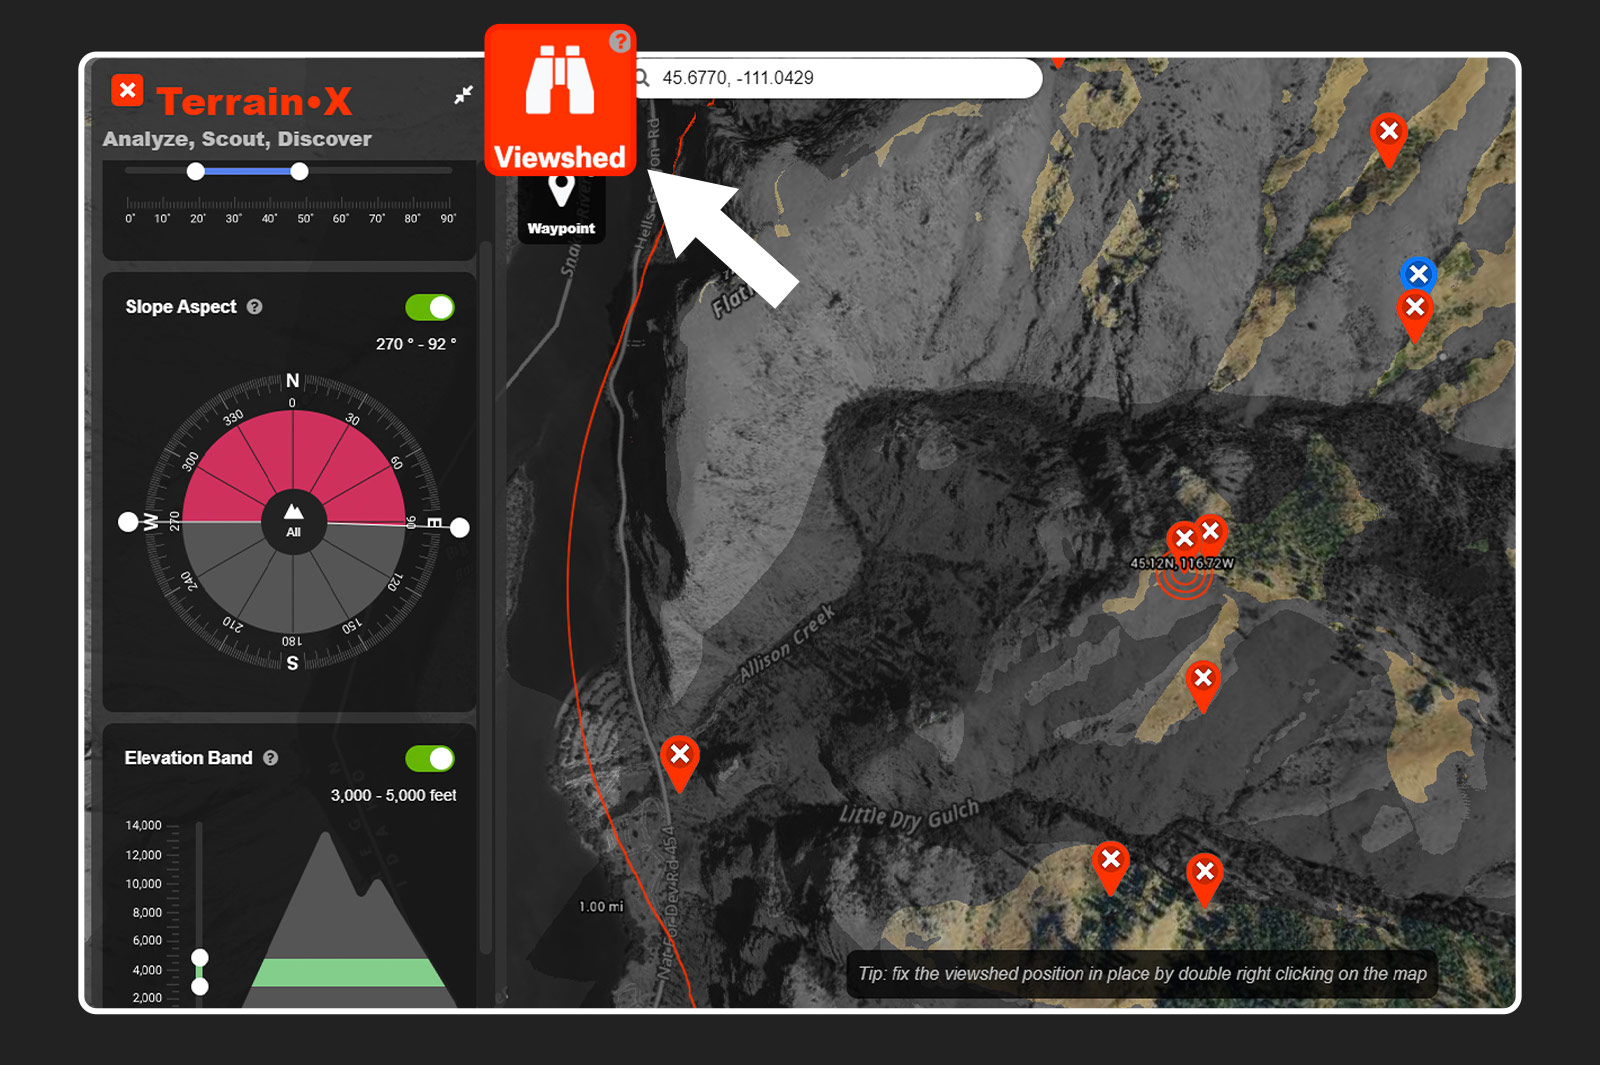
On the left-hand side of the screen within TerrainX, you’ll see a set of binoculars. Clicking on that will bring up a bullseye-looking deal on your map, and around that are radius markers at one mile, two miles, and onward. This is the Viewshed, and it will follow your cursor. As you move the Viewshed around, you’ll notice that areas will become highlighted and then not. By placing the Viewshed on a glassing point, the country that is visible from that point will become highlighted. This allows you to find exactly where you need to be to see a certain piece of country. Double right-click a point and the Viewshed will become fixed in that position, allowing you to utilize 3D mapping to further your perspective on a given point.
In Closing
I can remember back before the term “e-scouting” was even a thing. Back then, my dad and I would look at paper maps together and then actually find out what everything looked like once we arrived on our hunt. We just didn’t have time to actually go scout, which is a mirror image of the present-day for many folks.
Lucky for us, e-scouting is a thing now, and because of tools like TerrainX, we can head into the field armed with dense knowledge of an area that will put us where we need to be for a shot at a bear, thus keeping the freezer full. This past spring bear season was no exception to that.