Reminder: Elk Are Big. Here’s How To Plan for Your Pack Out.
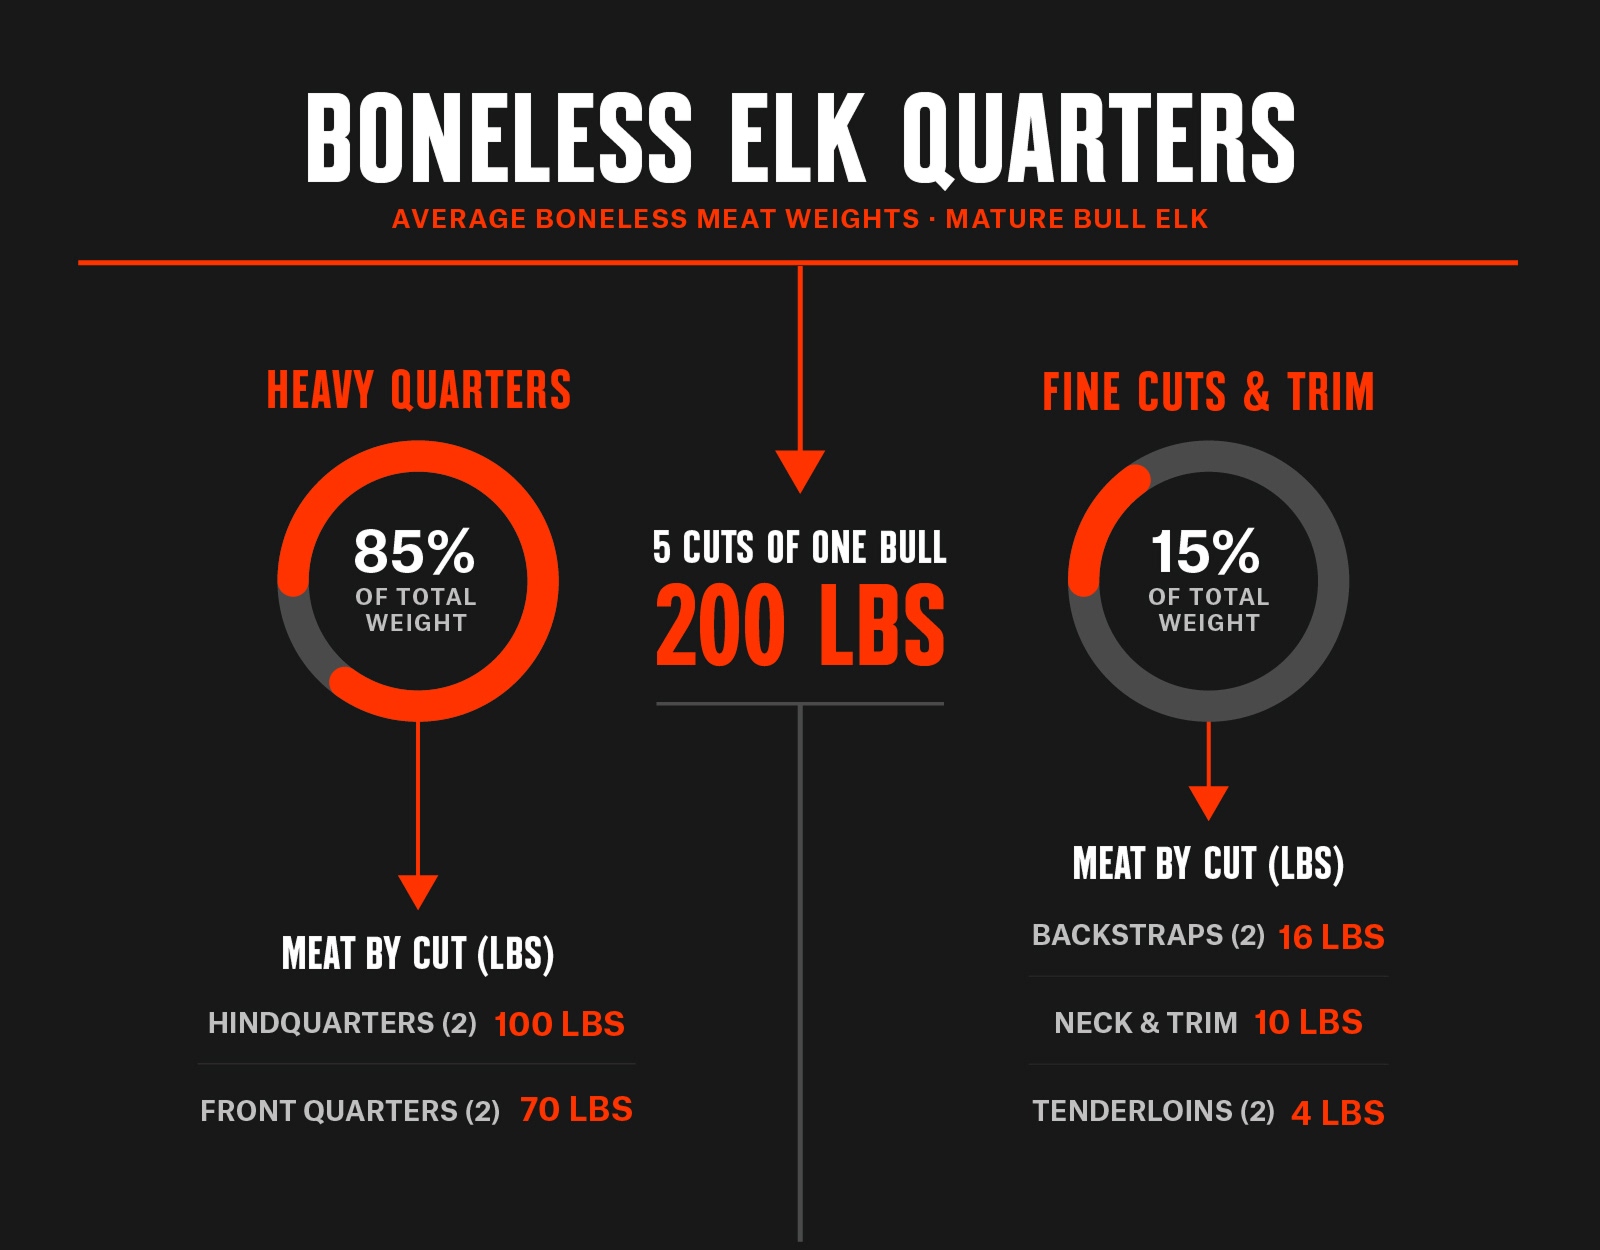
A mature bull can hand you well over 200 pounds of boneless meat, which is great news for your freezer and tough news for your back.
Here’s how much meat you’re really working with, how many trips it takes to get it out, and how to plan an efficient pack out route.
How Much Does an Elk Weigh?
Search around for “elk weight” and you’ll find plenty of jaw-dropping numbers, most of them pulled from managed, high-fence operations where genetics and feed programs push bulls well past anything you’ll find on public land. A mountain bull is a different animal.
On free-range ground, the Rocky Mountain Elk Foundation puts an average bull at around 700 pounds live weight, with cows averaging closer to 500 pounds. Subspecies matters, too: a Tule bull in California might only push 400 pounds, while a Roosevelt bull working the old growth of the Pacific Northwest can top 900. Colorado Parks and Wildlife’s numbers land in a similar range: Rocky Mountain elk subspecies bulls weigh up to 900 pounds and cows between 400 and 600.
How Much Meat Can You Get From an Elk?
An average mature bull nets out to about 218 pounds of boneless meat. An average cow comes in lighter, around 169 pounds.
How Many Trips to Expect
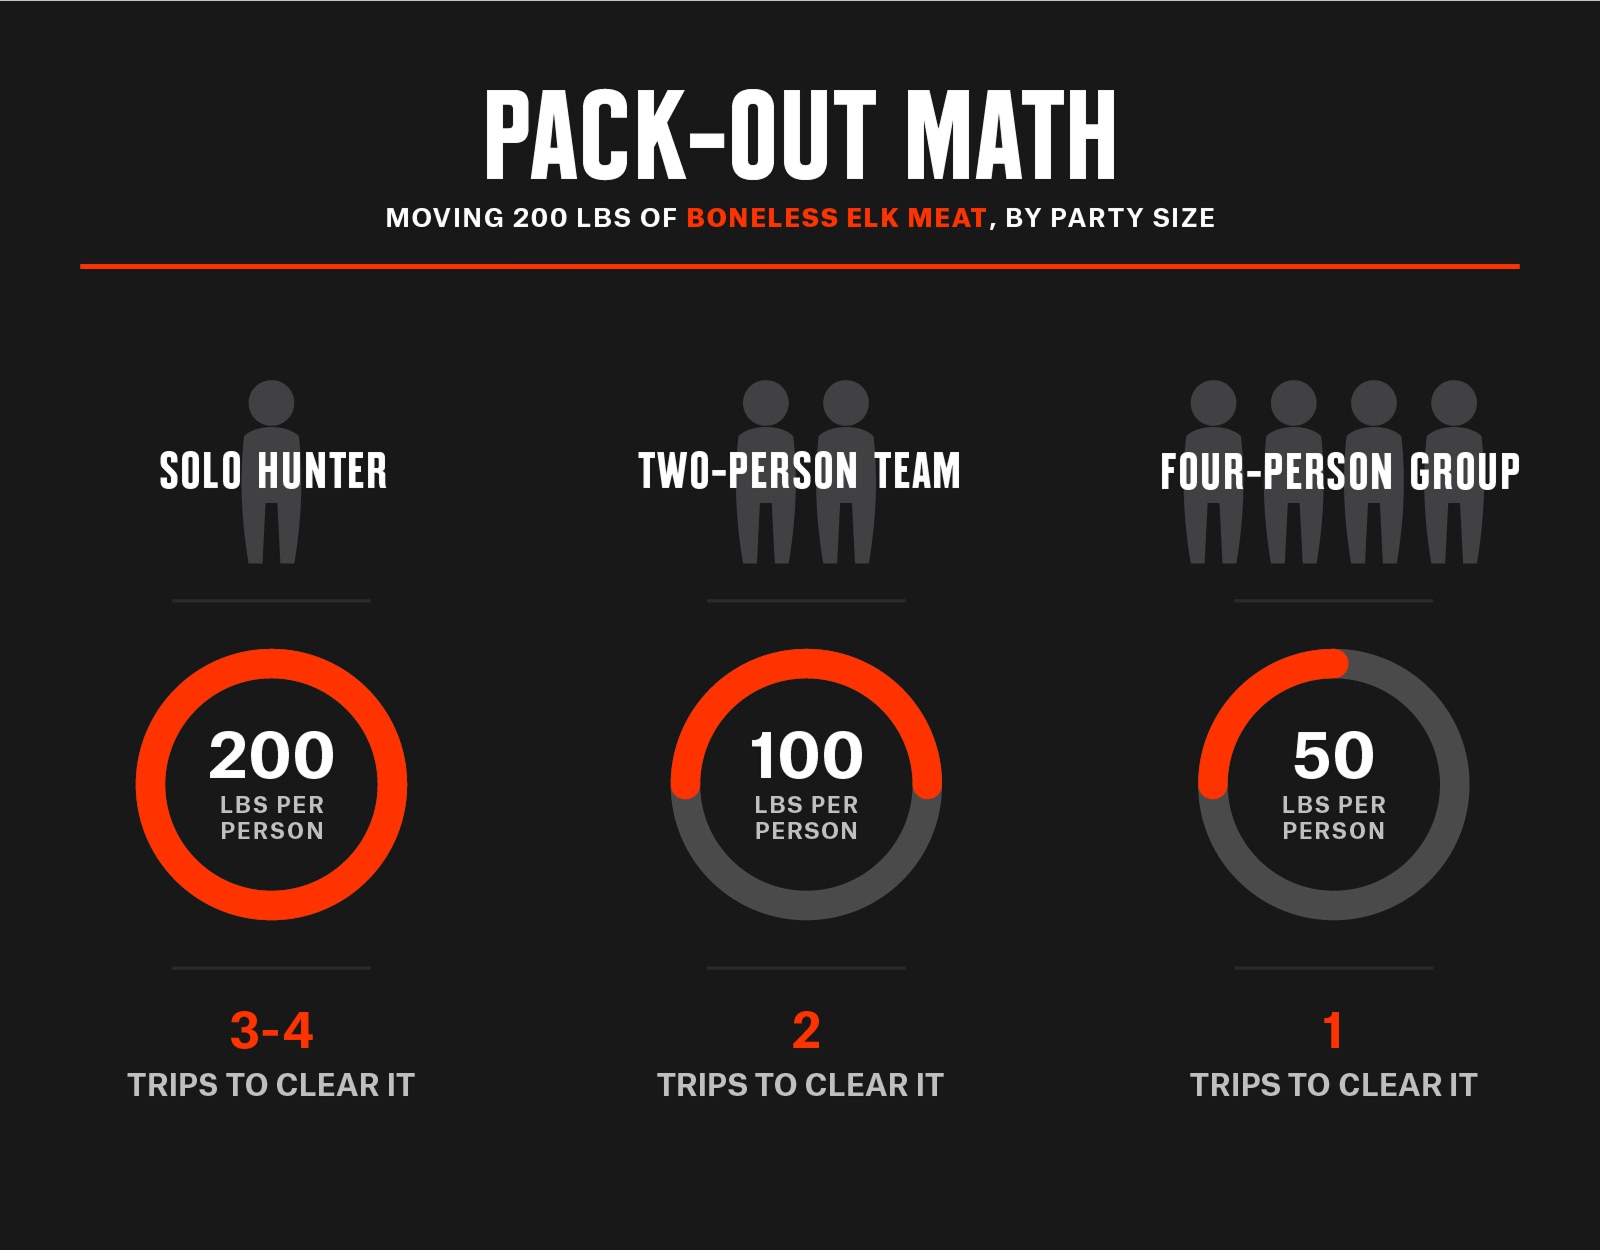
This is the number every first-timer wants: how many trips am I in for? The answer depends on party size and animal size. Let’s go with an example on the far end of the weight spectrum. A 500-pound field-dressed bull yields 250 pounds of meat plus a 40-pound head (or, if you want a shoulder mount and bring the cape, expect even more), 290 pounds in all, and it breaks down like this.
| Party Size | Avg. Load per Trip | Trips Needed |
| Solo hunter | 97 lbs. | 3 |
| Solo hunter | 73 lbs. | 4 |
| Solo hunter | 58 lbs. | 5 |
| Two hunters | 100 to 145 lbs. each* | 1-2 |
| Four hunters | 70 to 75 lbs. each | 1 |
Heavier loads mean fewer trips. Lighter loads mean more trips. There’s no wrong answer here as long as you’ve planned for it instead of finding out on the mountain—and remember, you’re not just carrying an animal, but also your other gear.
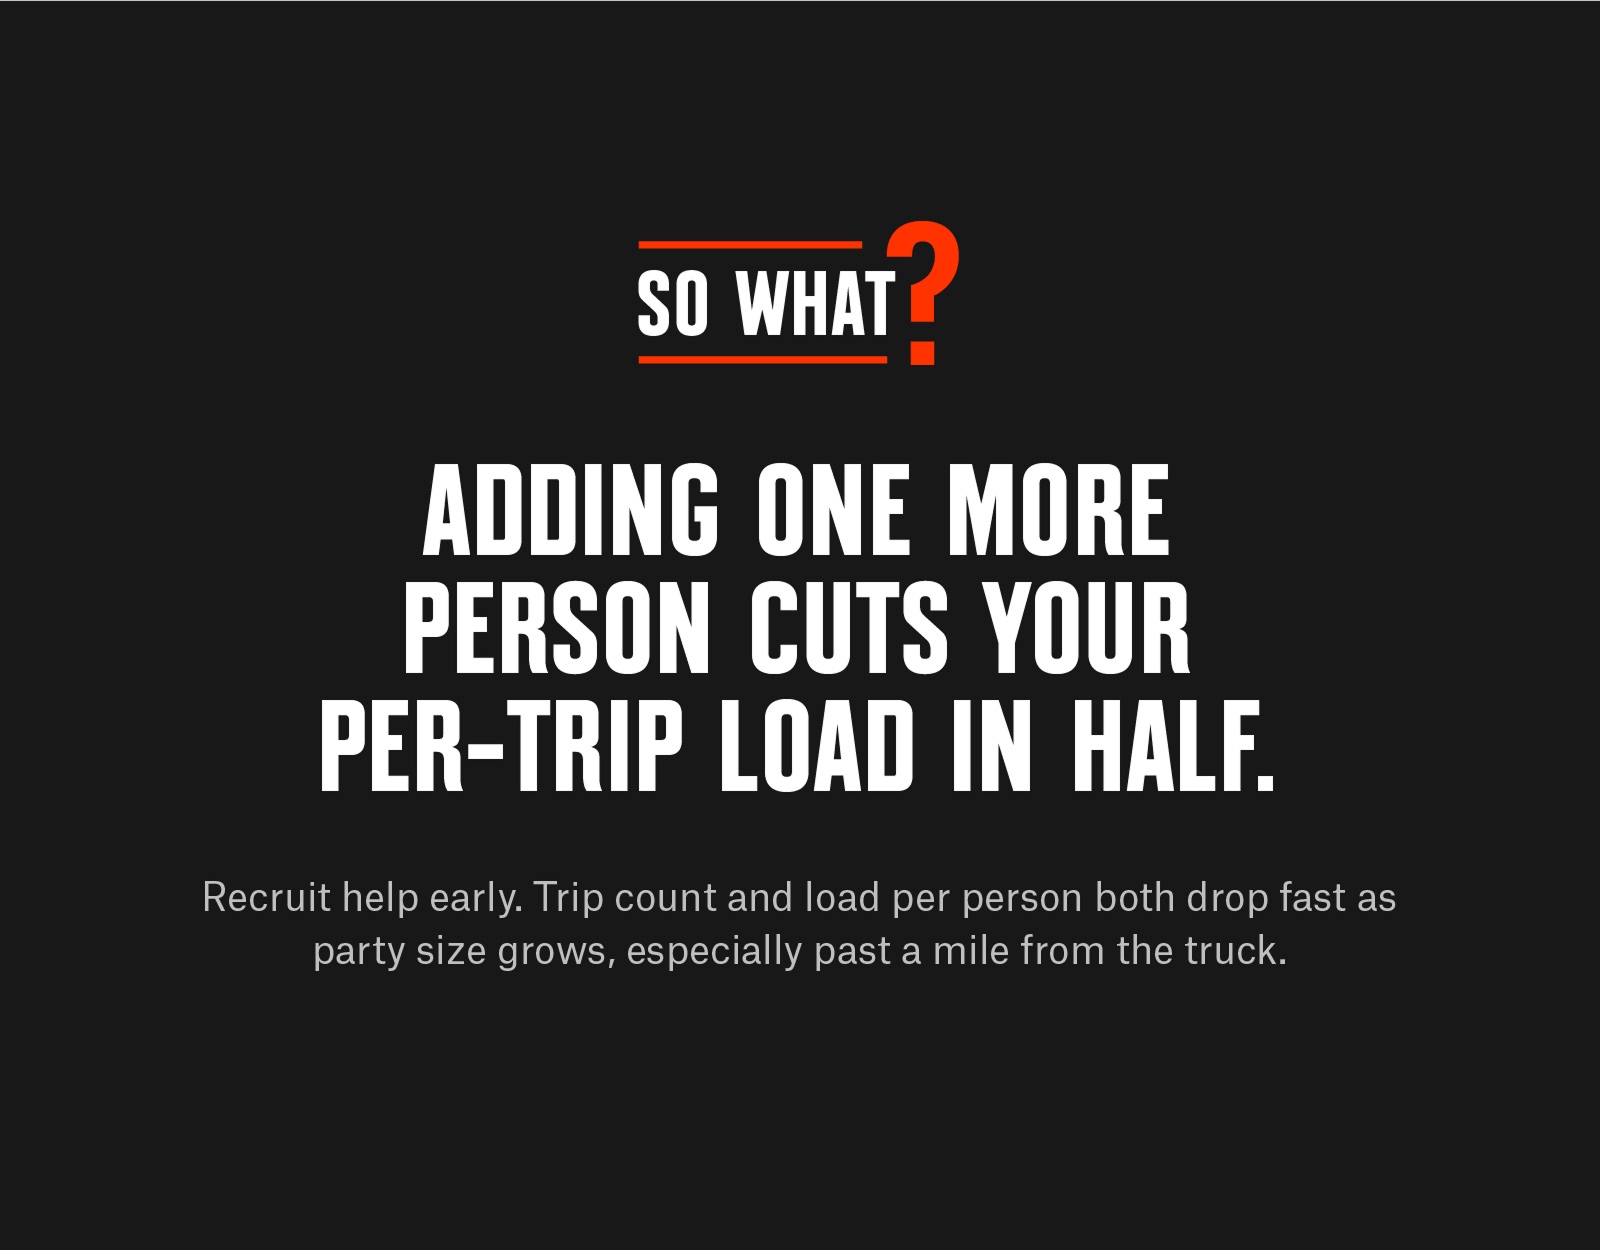
Multiple hunters change the math fast. It’s possible to “half” between a pair of hunters, but still a tall task. One person can carry both boned hindquarters plus the backstraps and tenderloins, while the other takes both shoulders, the remaining trim, and the cape and antlers. Add a third and fourth hunter and you’re usually looking at one trip apiece, each person carrying roughly a third to a quarter of the total load.
*How much should each person carry? A 2022 review of backpack load-carriage research found injury risk climbs sharply on heavy-carry jobs and recommended not exceeding 40% of your body weight per load. For a 180-pound hunter, that’s a ceiling of about 72 pounds a trip.
Terrain Changes Everything
Everything above assumes flat ground and a short walk. Elk country rarely offers either, and the same bull can turn into two very different jobs depending on where he drops.
Distance on a map can mislead you. A kill site that reads one mile from the truck is two miles round trip once you’re walking it, and those two miles get covered three to five times depending on your party size.
Elevation compounds that math. A study out of the U.S. Army Research Institute of Environmental Medicine built a new model for predicting the metabolic cost of heavy backpacking and found that energy expenditure rises non-linearly as load increases. Each additional pound costs more than the pound before it, and steep grades, especially downhill, pile an independent cost on top of that. The last 20 pounds you strap on to avoid a fifth trip is far more expensive, physically, than the first 20 pounds were.
Deadfall turns a straight line into a maze. Downed timber forces you to detour around it or climb over it, and climbing over a log with a loaded pack is exactly when injuries happen. Load-carriage research found lower-back and lower-extremity injuries are the most common outcome of heavy-carry work, and uneven footing under a heavy pack is where a lot of those injuries start.
Heat and weather add their own pressure, and not just on your body. A warm early-season hunt means meat starts working against you the moment it hits the ground, so every hour you burn rerouting around bad terrain is an hour that quarter sits in the sun. Rain or snow can turn a firm trail into ankle-deep mud and a dry crossing into a slick one, changing the route entirely from the one you scouted back in August.
Water crossings look simple on a map and rarely are in person. A creek that’s a quick step-over in September can run high and cold a month later, and a wet boot two miles from the truck with a heavy pack on is a miserable way to end a long day.
Put it together and the lesson is simple: the same bull, the same 700 pounds, the same yield, can be a straightforward carry or a brutal one depending entirely on where he falls.
That’s not a reason to hunt easier ground. Harvest density in roadless, hard-to-reach country runs roughly 10 times higher than in heavily roaded terrain. The ground that produces bulls is often the same ground that makes for a brutal pack out. That’s not bad luck. It’s the trade you’re making by hunting where the elk are.
Plan the Best Elk Pack Out Route
Drop a radius around your access point to keep your hunt scoped to a pack-out distance you can handle. It’s an easy habit that keeps you from falling in love with a basin that’s gorgeous to glass and brutal to pack out of.
Use Two-Finger Line Distance (using two fingers on the screen, tap and hold the two locations between which you want to measure the distance) to measure a straight-line number from a likely kill zone back to your truck or camp. It’s a fast sanity check, but a straight line isn’t the trail you’ll walk. Or, switch to Route Builder to lay out the real path, snapped to roads and trails or drawn by hand, and see the true walking distance and elevation profile. Build two or three route options before opening day so you’re choosing a path in advance instead of discovering one mid-carry.
Turn on the Slope Layer to see grade at a glance, shaded from gentle to steep, so you can route around the kind of pitch that turns a manageable load into a miserable one. Switch to 3D, available offline, or pull up Lidar to spot nasty terrain surprises on the map instead of on the mountain.
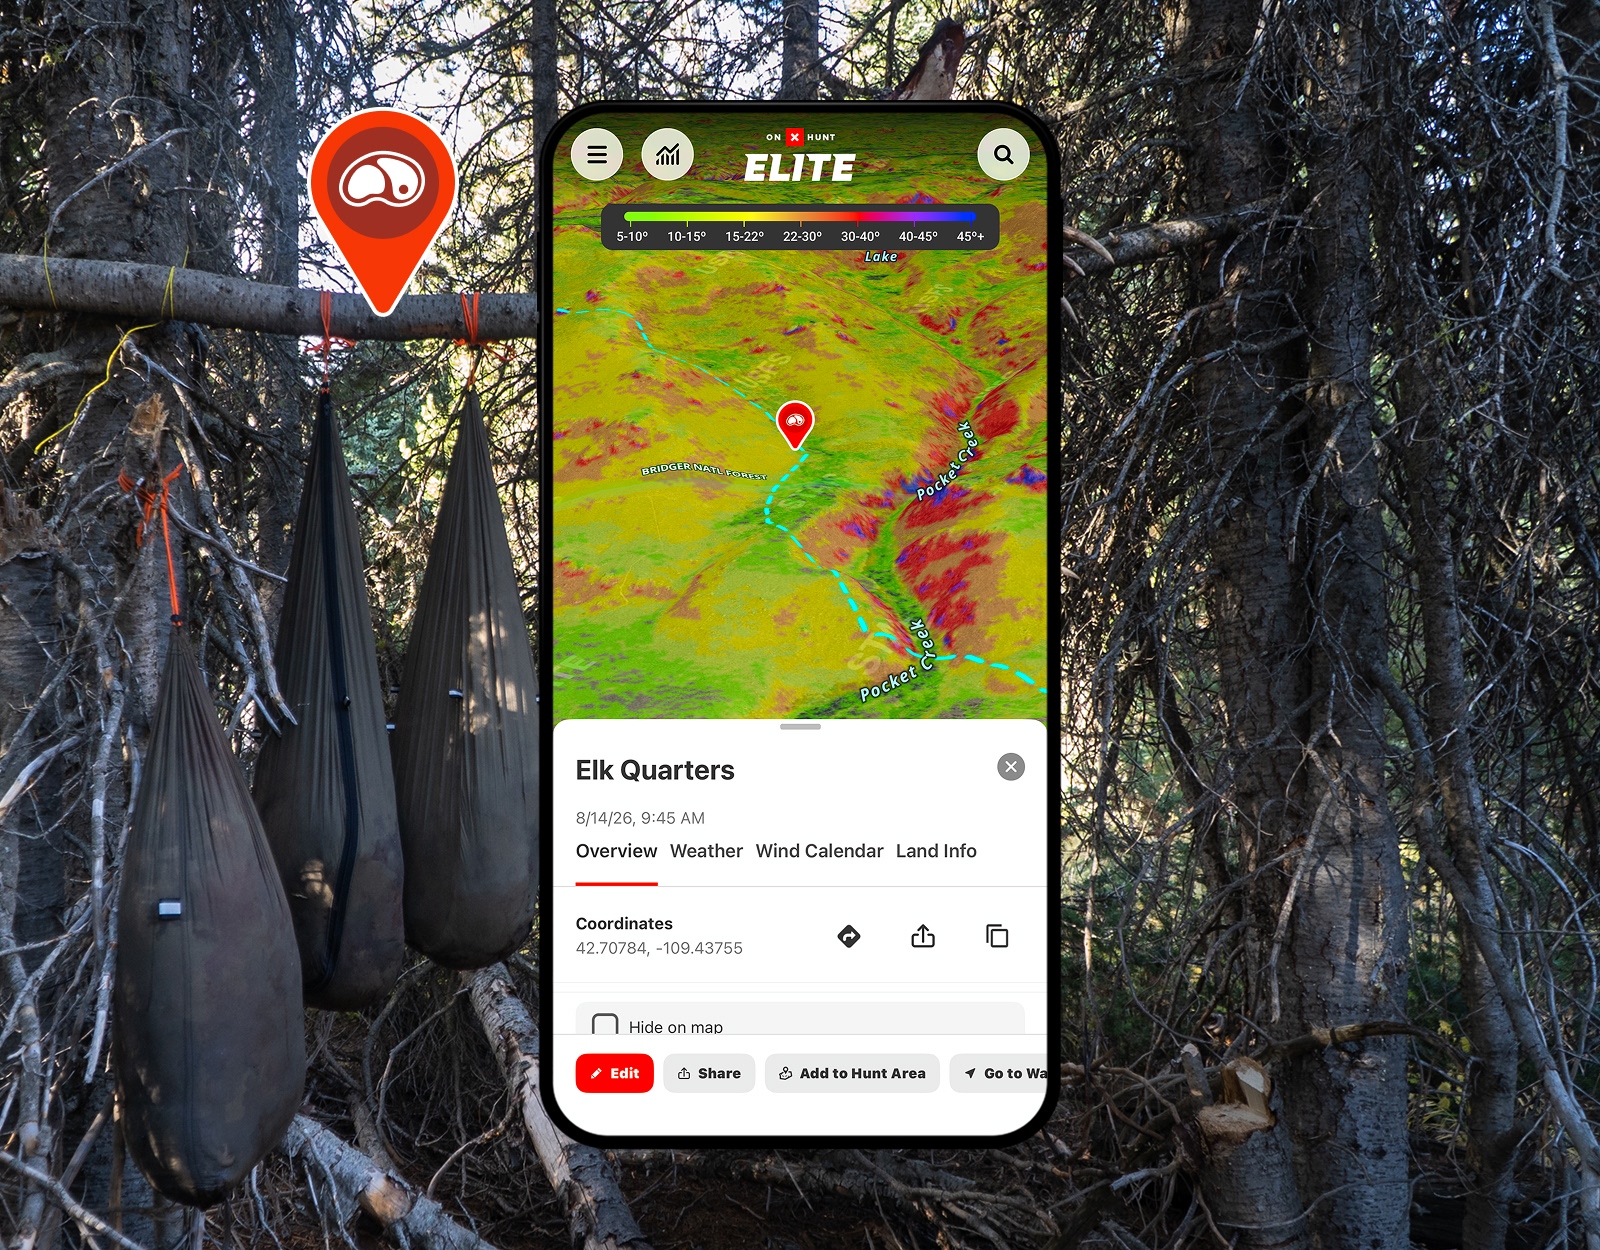
Drop a Waypoint the moment you field dress the animal, and another at your truck or trailhead. Mark a meat cache separately if you’re staging loads. One hunting writer described burning nearly an hour in the dark hunting for a stashed meat pile because his GPS pin was off by 60 meters, exactly the kind of mistake a precise Waypoint prevents.
Start your Tracker on the way out and follow that same track on every trip after. Once you’ve found the smart path, there’s no reason to test a new one with a heavy pack and a tired back. Turn on Offline Maps before you leave cell service, too.
A Few Last Things
Have a plan to keep the meat cool. Know the expected temperatures in the area (or at least check before you go offline if you’ll be without service so you have an idea of how concerned to be). Once you’ve field dressed your elk and gotten the meat in game bags, find the coolest spot you can to hang it between trips. A creek bottom is ideal. At a minimum, get it into shade (and be mindful that the spot that was shaded when you hung the meat might not be a shaded spot by the time you get back).
Also, pack trekking poles. They’ll save your knees on the downhill with a loaded pack.
And if you’re staging meat overnight, hang it or stash it well off your trail, mark the spot with a Waypoint, and make sure you have a good line of sight to the area on re-approach so you can look for bears.