Archery for Beginners
Learn the lingo, what gear you need, and how to create a repeatable shot process.
Essential Archery Hunting Gear
There’s a lot of gear tied to bowhunting, and most of it matters. The good news is you don’t need to master all of it before your first pro shop visit. You just need enough awareness to follow the conversation and ask good questions. This section is about vocabulary and orientation, but doesn’t tell you exactly what to buy.
Types of Bows
The two main bow categories are compound and traditional. Compound bows use a cam-and-cable system that creates “let-off,” meaning at full draw you’re holding only about 15-35% of the bow’s peak weight. This makes holding a steady aim far easier, which is why compounds are the standard choice for beginners. Traditional bows (recurves and longbows) make you hold 100% of the draw weight and demand more of your form. For most new hunters, compound is the right starting point. Crossbows are a separate conversation, regulated differently state-by-state.
Bow Sights
A multi-pin sight (typically three pins set to 20, 30, and 40 yards) is the hunting standard and the best choice for beginners. Single-pin slider sights dial to exact yardages and are popular with target archers and a growing number of hunters, but more pins mean more ready-made aiming references in a hurry. A round pin guard paired with a ¼-inch peep lets you center the whole sight housing in the peep, which is more forgiving than centering one pin.
Archery Releases
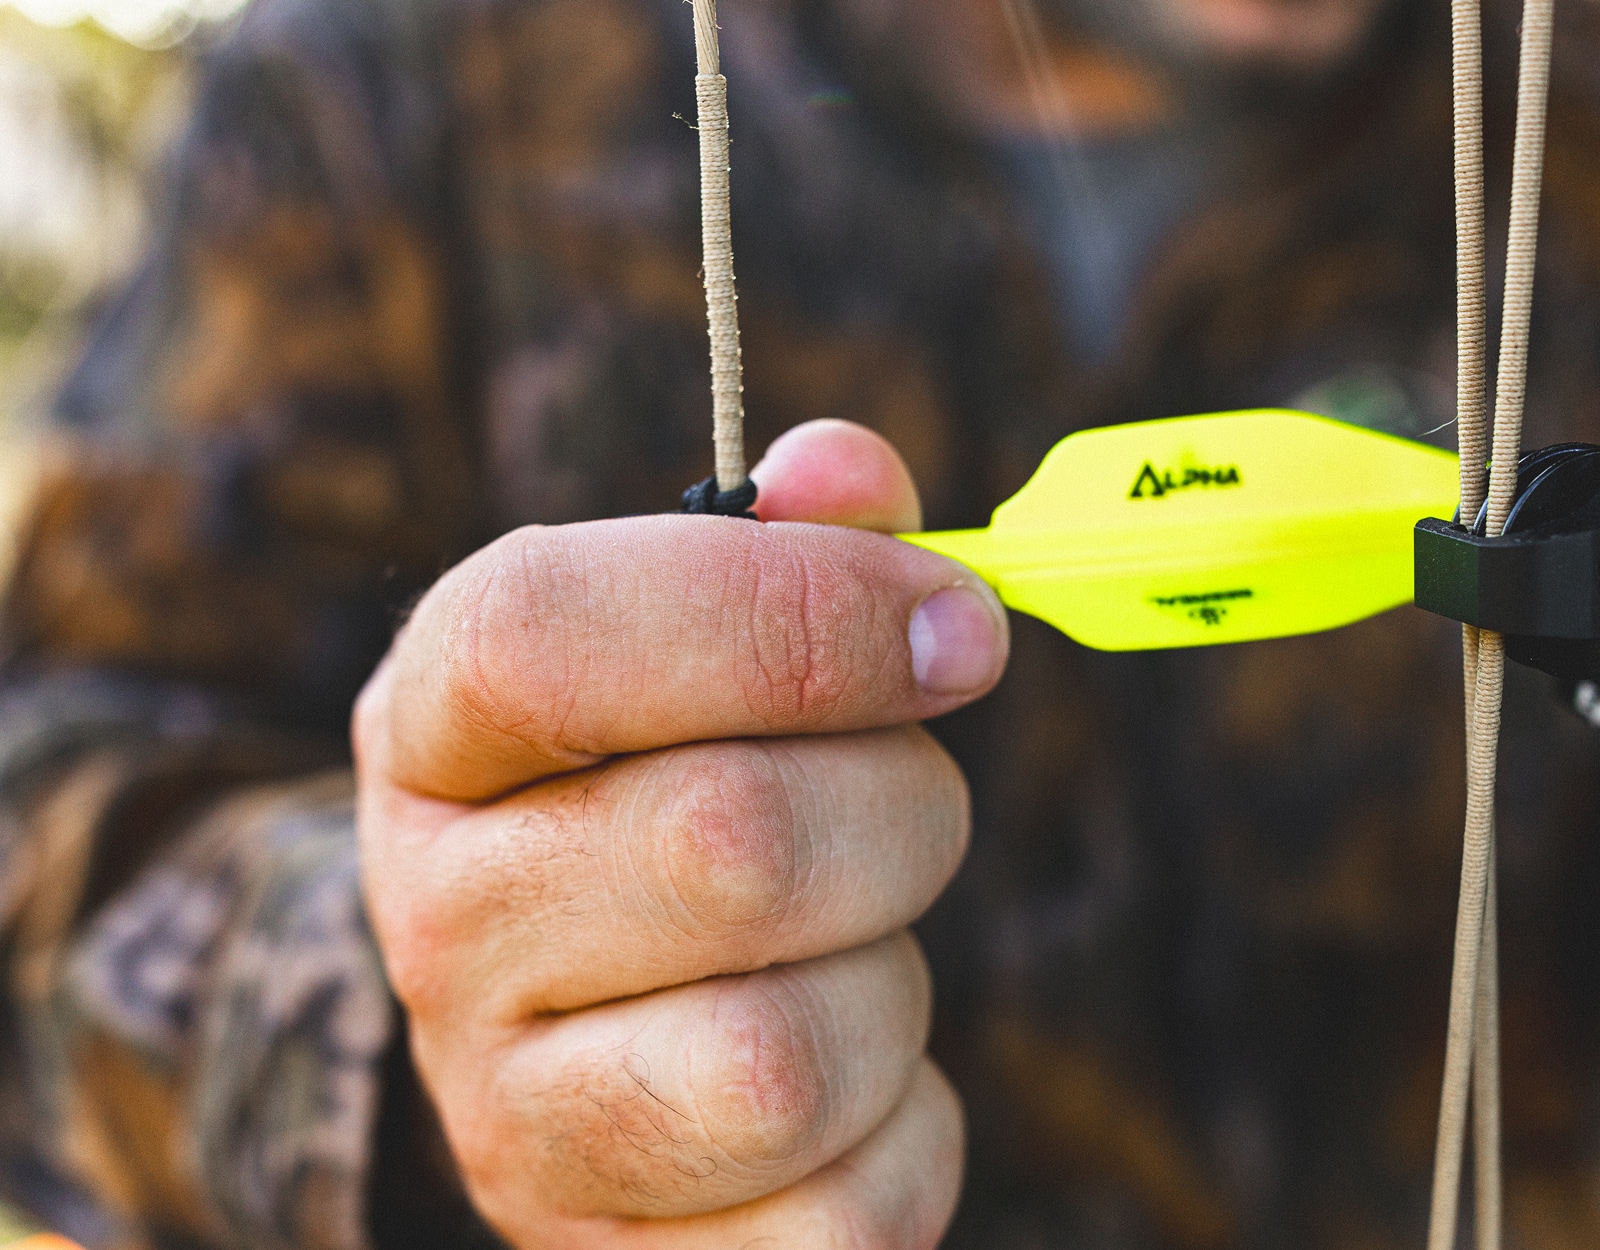
A release aid clips to the string (or D-loop) for a cleaner, more consistent release than fingers. The two main types are wrist-strap (index-finger trigger) and handheld (thumb trigger). Wrist-strap releases are the most common among hunters and feel intuitive to anyone who’s fired a rifle. Thumb releases offer more control over trigger timing and appeal to advanced shooters. Start with a wrist-strap, caliper-style release and have the shop set the trigger travel.
Bow Rest
For beginners, a full-capture rest like the Whisker Biscuit is strongly recommended; it holds the arrow from all sides no matter how you move, which is critical when you’re drawing from a treestand or nocking in low light. Drop-away rests let the launcher fall out of the way for cleaner fletching clearance and a slight accuracy edge at longer range, but that edge matters more at distances than most beginners will shoot.
Bow Stabilizer
A front stabilizer (8–12 inches) screws into the front of the riser and dampens vibration and torque at the shot, steadying the pin. It’s not strictly required, but it’s worth the investment for the balance and movement reduction it adds.
Arrows for Compound Bow
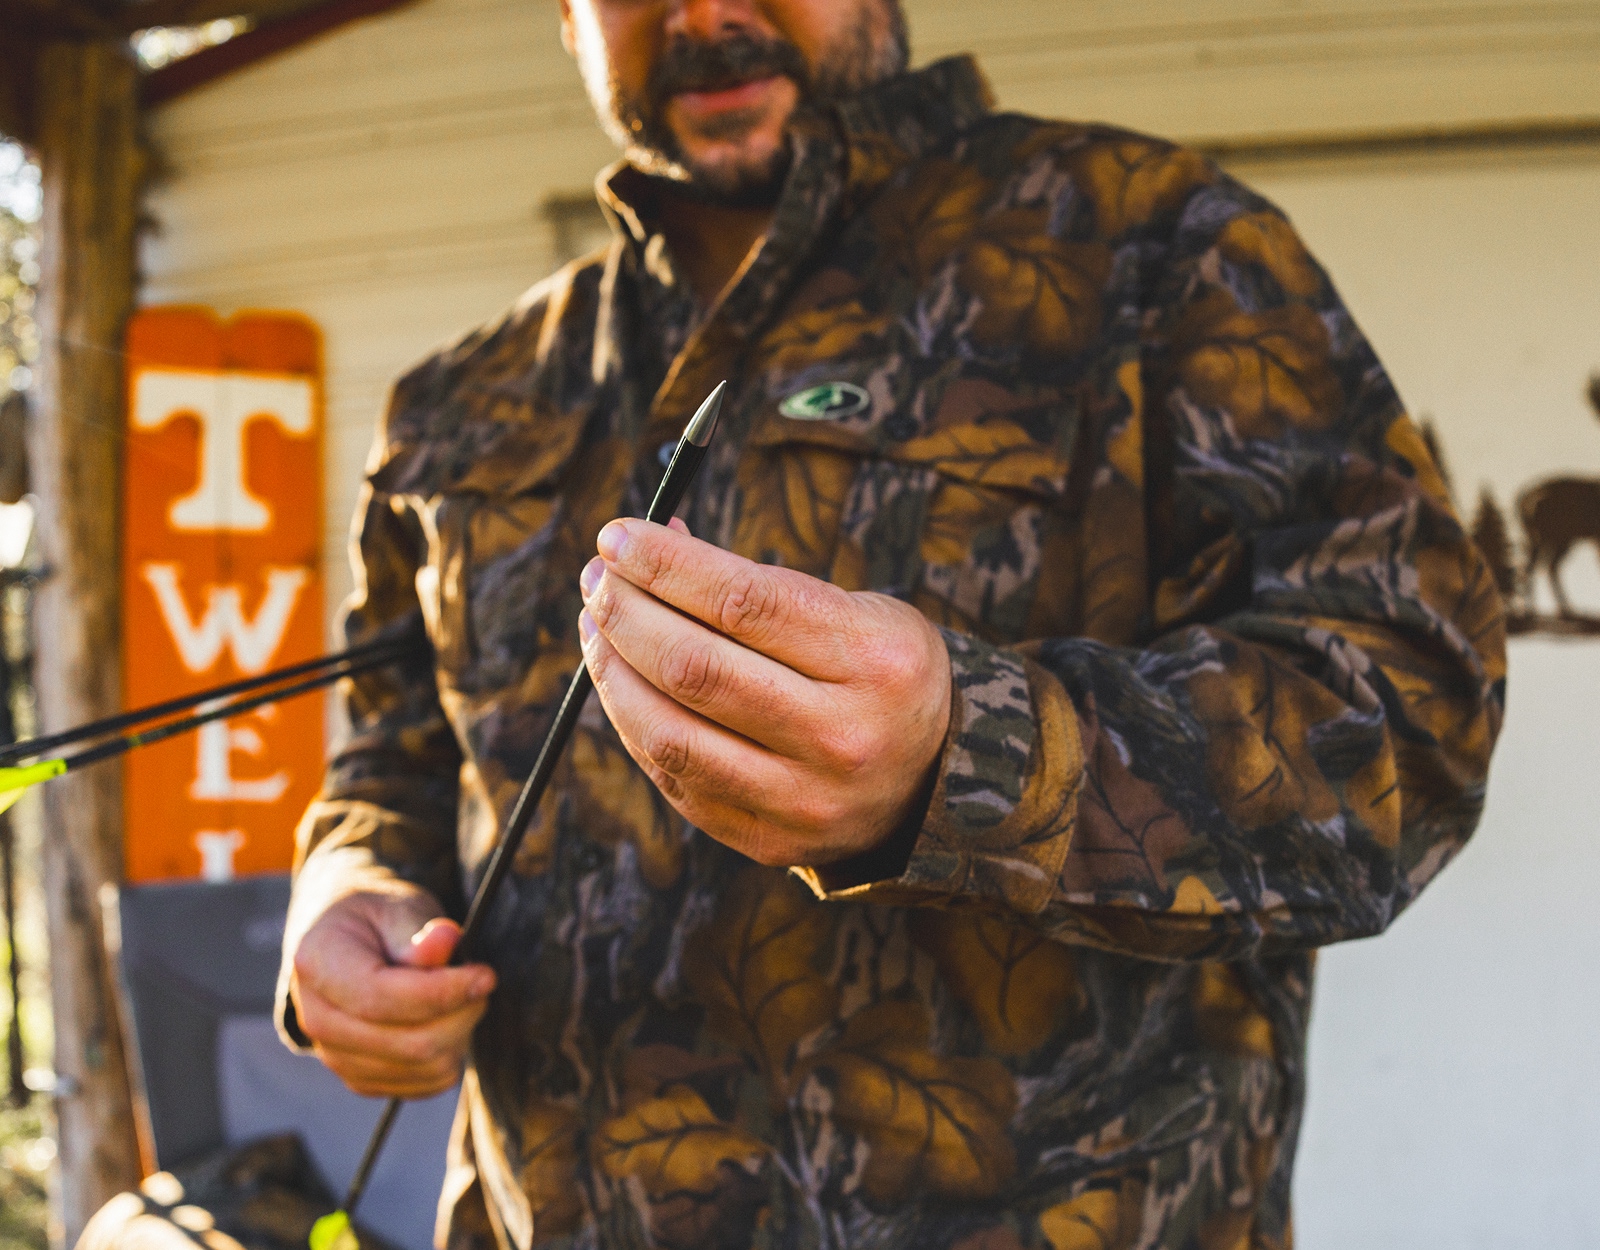
Carbon fiber arrows are the standard. Three things matter: spine (stiffness), length, and total weight in grains. A useful rule of thumb is roughly 6.5 grains of finished arrow weight per pound of draw force—so a 60-pound bow wants about 390 grains or more. Heavier arrows are quieter, penetrate better, and carry more energy. Your pro shop matches spine to your draw weight and length using a spine chart.
Field Tips for Arrows
Field points are the blunt, target tips you’ll practice with. Match their weight to your hunting broadheads so you can practice with 100-grain field points and hunt with 100-grain broadheads, or you’ll change your point of impact between the range and the woods.
Mechanical Broadheads vs. Fixed Blade Broadheads
Fixed-blade broadheads have permanently open blades; they’re simpler, tougher, and more forgiving, but they’ll also reveal any tuning issues in your setup. Mechanical (expandable) broadheads open on impact and fly more like field points, but they ask for a well-tuned bow. If you’re still dialing things in, start with fixed blades. Either way, you’ll confirm flight on the range before the season.
Compound Bow Quiver
A bow-mounted quiver holds 3–6 arrows and ships with most beginner setups. Practice with it on the bow since that’s how you’ll hunt and the added weight changes balance and can shift your point of impact.
Bow Case
A hard case protects the bow in transport and travel; a soft case is lighter and fine for controlled vehicle trips. Either works for most beginners.
Targets or Access to a Range
You need something to shoot at. 3D targets (life-sized animal forms) are excellent for learning realistic aim points and field angles. Foam block targets are affordable and handle high arrow volume; bag targets are great for field points but not broadheads. Access to a local range or club, often through a pro shop, also gets you around other archers and 3D events.
Compound Bow Setup: Find Your Closest Archery Shop
The pro shop is not optional. A bow that doesn’t fit you is a bow you won’t shoot well, no matter how much you practice. It’s also where you can shoot several models back-to-back, feel the differences, and get fitted correctly. Tell them three things: you’re new to bowhunting (most pros enjoy working with beginners), what you plan to hunt (draw-weight minimums vary by species), and that you want a setup you can grow into rather than max out on day one. Bonus: a good shop will plug you into local leagues and 3D shoots.
Choosing a Bow
Don’t fixate on a brand. Any bow from a major manufacturer, properly fitted, will outperform your ability as a beginner. Focus on correct draw length, an adjustable draw-weight range, and how it feels in your hand. Test-fire several and pick the one that’s quietest and most natural. Entry-level packages ($400–700) that include the bow, sight, rest, stabilizer, and quiver are perfectly capable. You don’t need a flagship.
Basic Arrow Vocabulary: Spine, Grains, FOC
Three terms to know before you step up to the shop counter. Spine is the shaft’s stiffness rating (lower number = stiffer); it must match your draw weight, or the arrow will fishtail or kick on release. Grains measure weight—grains per inch for the shaft and total grains for the finished arrow, which drives kinetic energy. FOC (front of center) is the arrow’s balance point as a percentage of its length; 10–15% is the typical hunting range, and a higher FOC improves broadhead stability at distance and in wind.
Draw Weight
Draw weight is the peak force needed to draw the string. For whitetails, the commonly cited minimum is 40 pounds, and a well-placed shot from a 45-pound bow will pass through a deer’s vitals; 50–60 pounds is comfortable for most adults. Buy a bow set about 10 pounds below your comfortable max so your archery muscles have room to grow into it. Never buy at the most you can pull because you won’t hold it steady once fatigue sets in. Many bows adjust down roughly 10 pounds from their max. Most states with a hard minimum require 35–40 pounds; confirm yours before hunting.
Draw Length
Draw length is the distance from grip to anchor at full draw, set by your body (mainly arm span). A quick field estimate is arm span (fingertip to fingertip) ÷ 2.5, which the shop will confirm on a draw board. Get this right: too short and you’ll feel cramped, too long and you’ll overextend and lose your anchor. Both are problems that no amount of practice can fix.
Speed vs. Power
Faster bows (higher feet per second [FPS]) shoot flatter and forgive range-estimation errors a little better, but speed comes from lighter arrows that carry less kinetic energy. Heavier arrows are quieter, penetrate deeper, and hit harder. For whitetails at 20–30 yards, arrow weight and energy matter more than raw speed. “The fastest bow on the wall” is a marketing angle, not a hunting advantage, so choose one that’s comfortable, accurate, and quiet.
Sighting In
Once your bow is set up, you’ll need to sight in your pins before hunting. We’ve got a full walkthrough here: How to Sight In Your Bow.
Build Your Shot Process
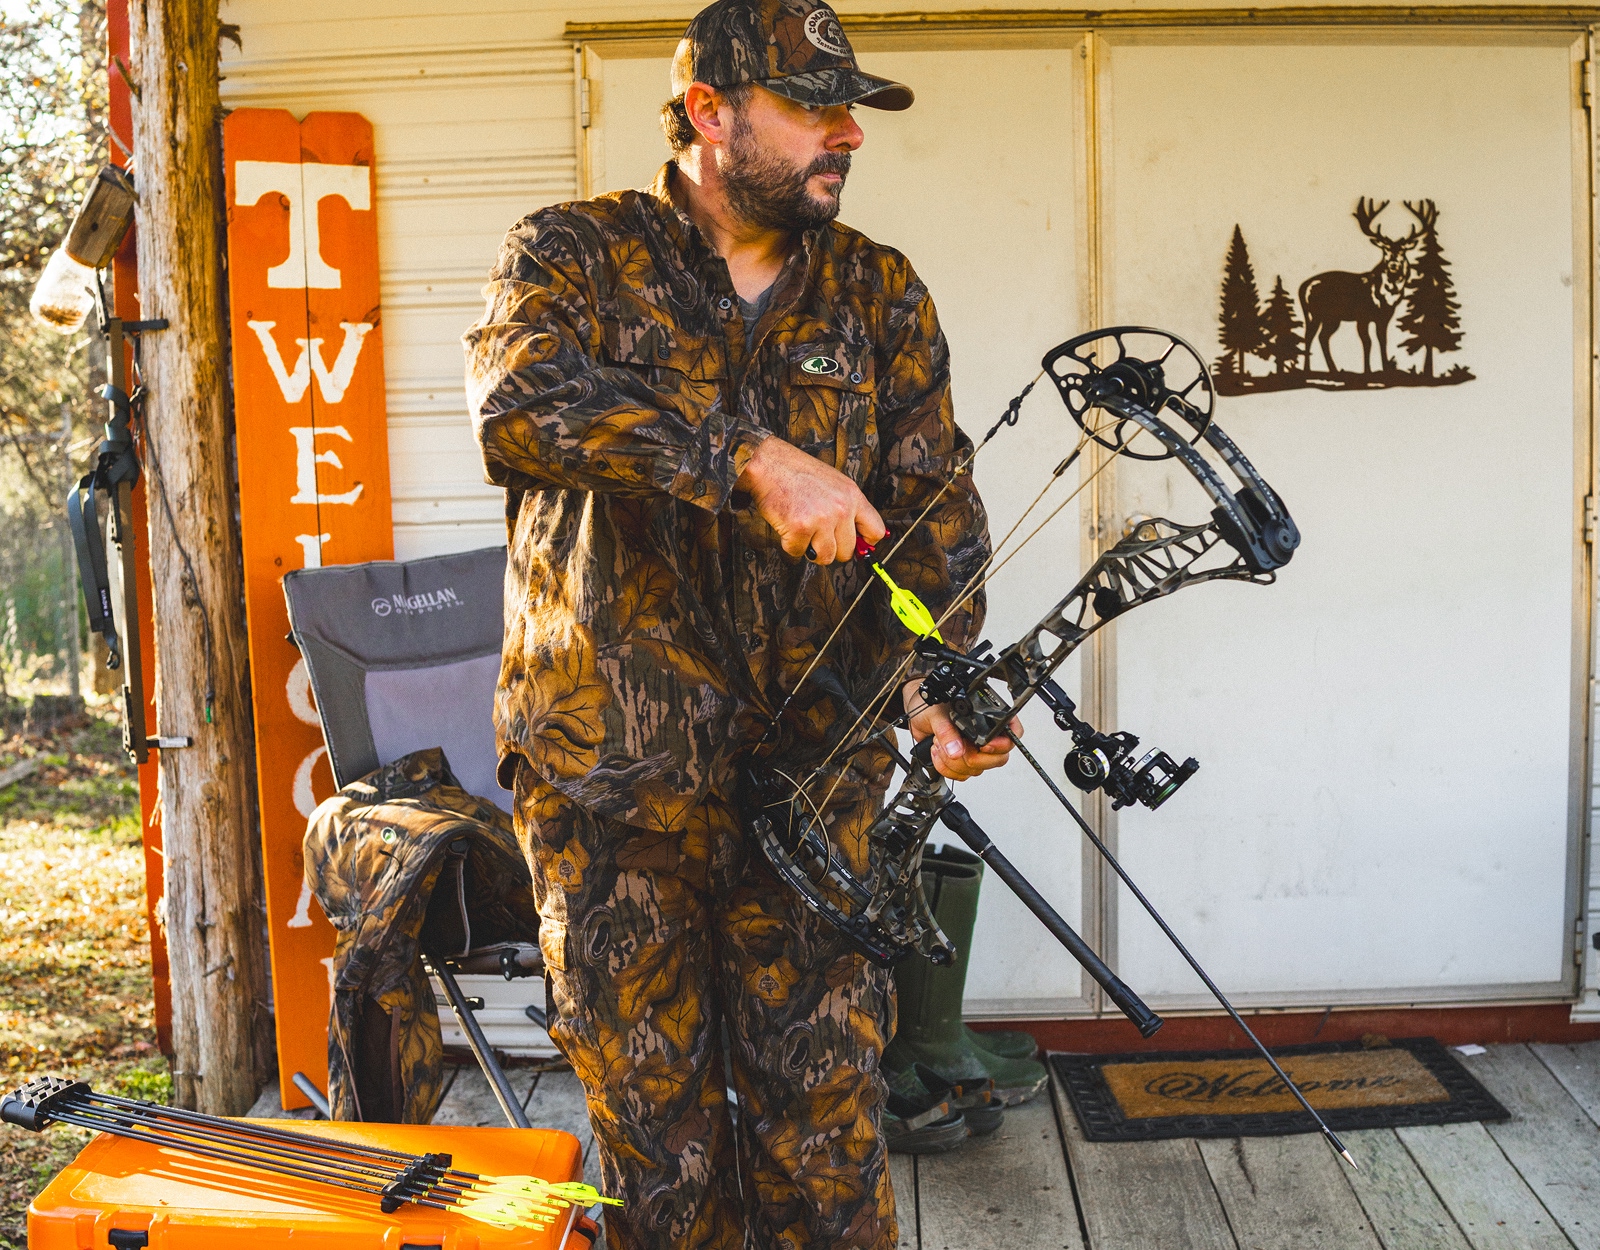
Archery accuracy comes down to doing the same thing the same way, every single time. The goal of practice is to make that sequence subconscious, so when a buck steps into your lane, your body executes without you having to think. The best-structured beginner framework is: STANCE → GRIP → SHOULDER → ANCHOR → PEEP → PULL.
Stance
Stand roughly perpendicular to the target, feet shoulder-width for stability, weight centered rather than on your heels. Some hunters prefer a slightly open stance with their front foot angled a touch toward the target for more rotational freedom, which helps in a treestand.
Grip
This is the single most common beginner error. The grip should rest against the meaty pad at the base of your thumb, not deep in your palm, with fingers relaxed. A tight grip torques the bow as the string releases and pulls the arrow off course. Use the least pressure needed to hold the bow up, and let it rock forward on the wrist sling after the shot.
Anchor Point
Your anchor is where your release hand settles at full draw, identical on every shot, because a half-inch of variation moves your impact noticeably at 30 yards. The standard release-shooter anchor is three points of contact: index knuckle under the jawline, middle-finger knuckle on the gumline, and the string lightly touching the tip of your nose. Lock those in before you look for the peep: anchor first, peep second.
Follow-Through
Good follow-through is, ideally, nothing: hold everything exactly where it was at full draw until the arrow hits. Keep pulling through the shot with your back, and your release hand should drift back toward your rear shoulder. If it snaps forward toward the target, you punched the trigger. (Research on archery performance backs this up—the steadiest shooters use their back muscles, not their arms, and hold position after release.)
Understanding Target Panic
Target panic is one of the most common experiences for new bowhunters, and one of the hardest to undo once it sets in. It’s worth knowing before it happens. What is it? It’s the subconscious urge to punch the release the instant the pin rolls onto the spot, rather than letting the shot break as a result of your process.
How do you spot it early? You’re staring at the pin instead of the target, you feel a rush to fire the moment the pin is “on,” or your release hand snaps forward at the shot.
How do you prevent it? Use John Dudley’s Two-Arrow Rule: shoot just two arrows per round with full focus on the sequence, not where they land, and build the shot into your subconscious through clean repetition. If it’s already creeping in, switch to a back-tension release and practice “blank bailing”: stand a few feet from a blank target, eyes closed, and let the shot fire as a complete surprise. It rewires the habit over a few weeks, so start well before the season. Knowing what it is already puts you ahead of most new archers.
Archery Practice: Simulate Hunting Conditions
The headline principle: practice the conditions you’ll actually face, not the ones that feel good. A flat 20 yards at a motionless target in perfect light is not where deer hunting happens. Intentional archery practice means deliberately breaking that comfort bubble.
- Shoot odd yardages. Animals don’t stand at 20, 30, and 40. Practice at 17, 23, 37, and 28 yards so you learn to gap your pins and read distance instead of leaning on memorized pin positions.
- Practice in full gear. Before season, shoot in everything you’ll wear: jacket, gloves, harness, hat, face mask. A bulky collar can catch the string and throw an arrow; gloves change how the release feels. Find that out on the range, not in the stand. Shoot with your quiver attached, too, since that’s how you’ll hunt.
- Get above the ground. Shooting from an elevated angle changes your form. Bend at the waist toward the target, not at the shoulders, and practice from a deck, stairs, or your actual stand before season.
- Shoot 3D and uneven conditions. 3D events put you on lifelike targets at unknown yardages and odd angles, and it’s generally the best hunting simulator there is, as well as a great way to meet other bowhunters. Mix in wind, low light, and uneven ground while you’re at it.
- Test your broadheads. “Field-point accurate” on the package isn’t proof. Screw your broadheads on and shoot them at distance to confirm point of impact against your field points before you ever draw on an animal.
- Use the Two-Arrow Rule. Two arrows of full, focused effort teach you more than 20 careless ones. Add a third only when the first two are clean and end the session when your form starts to slip.
How ready is ready? The widely cited NRA American Hunter benchmark is hitting a pie plate (about nine inches) at 30 yards four out of five times in your hunting gear, from your hunting position. If you can’t clear that consistently, you’re not ready for the woods yet.