
Ready to explore this trail?
View Trail Map in AppRegional Classic
A must do route for the area handpicked by local experts.
No permit is required, but the 4WD road beyond the 2WD lot is very rough — high clearance and true 4WD are strongly recommended. Skipping this stretch adds several miles round-trip via the 2WD trailhead. This is not a hike or scramble: linking Crestone Peak to Crestone Needle requires sustained Class 3–4 exposed scrambling plus one mandatory Class 5.2 move, and a consequential final Class 4 headwall.
Path Type
Loop
This is not a hike or scramble: linking Crestone Peak to Crestone Needle requires sustained Class 3–4 exposed scrambling plus one mandatory Class 5.2 move, and a consequential final Class 4 headwall. Most climbers do this unroped, but a rope is commonly carried for the crux wall — especially climbing Needle-to-Peak, where the standard start is a rappel down that same wall. Unless you're experienced and fully comfortable with sustained Class 3/4 exposure, climbing the two peaks separately via their standard routes is the safer choice. For full technical beta, consult Mountain Project and onX Climb Mode before attempting this route.
The route starts and ends at the South Colony Lakes trailhead. Climb Crestone Peak via its standard South Face (Red Gully) route to the 14,299' summit, then descend the same gully to about 13,650'.
CRUX 1 — Finding the traverse entry: On the gully's east side, locate cairns on angled rocks just outside the gully — this crucial, easy-to-miss entry point leads onto the traverse proper. Scramble east onto easier terrain and begin descending slightly.
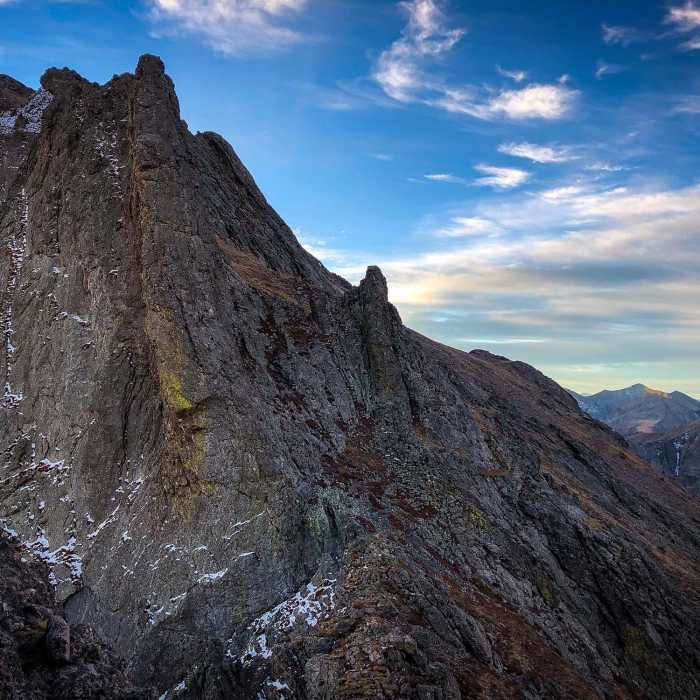
The traverse's first two-thirds zigzags through a sequence of ribs and gullies: after a few ups and downs, climb 100 feet to a break in a rock rib, then descend into a red-colored gully (distinct from Crestone Peak's own) marking the traverse's halfway point. Cross it to a rubble-filled chute, climb about 150 feet through angled slabs, then stay left through a more defined gully for another 100 feet to a break in the next rib near 13,700'. Descend slightly and cross one final rib — the zigzag section ends here, and the terrain below the Needle's summit begins.
CRUX 2 (mandatory, Class 5.2) — The Black Gendarme and the Bulge: Traverse beneath the prominent Black Gendarme without losing much elevation, then find a steep, narrow gully on its east side. This gully holds "the bulge" — a short, three-move Class 5.2 boulder problem and the route's most technically difficult spot. Bypassing left increases exposure rather than reducing difficulty, so most climbers push through the bulge directly.
CRUX 3 — The knife-edge: Above the bulge, climb the steep gully to a wall, angle right onto it, and cross a narrow, exposed 10-foot knife-edge section (Class 4, but no harder) to reach stable ground.
From there, scramble onto a jumble of rocks, use cairns to cross toward a white rock feature, climb a small gully, and follow a ledge below the ridge crest to a flat spot.
CRUX 4 (mandatory, the route's crux) — The final wall: This is the infamous Class 4 crux wall below Crestone Needle's summit — a fall here would likely be fatal. Choose a line, favoring slightly left toward the ridge crest for the best holds. Near the top, the angle eases and you'll likely pass a rappel station (used by parties descending Needle-to-Peak) before a short final scramble to Crestone Needle's 14,196' summit.
Descend via Crestone Needle's standard South Face route back to South Colony Lakes.
No Condition Reports
Humboldt Peak West Ridge
Humboldt Peak West Ridge
Crestone Needle South Face
Crestone Needle South Face
Crestone Peak South Face
Crestone Peak South Face
South Colony Lakes
South Colony Lakes
Kit Carson Peak East Ridge
Kit Carson Peak East Ridge
Crestone Needle Ellingwood Arete/Ledges
Crestone Needle Ellingwood Arete/Ledges
Contributors