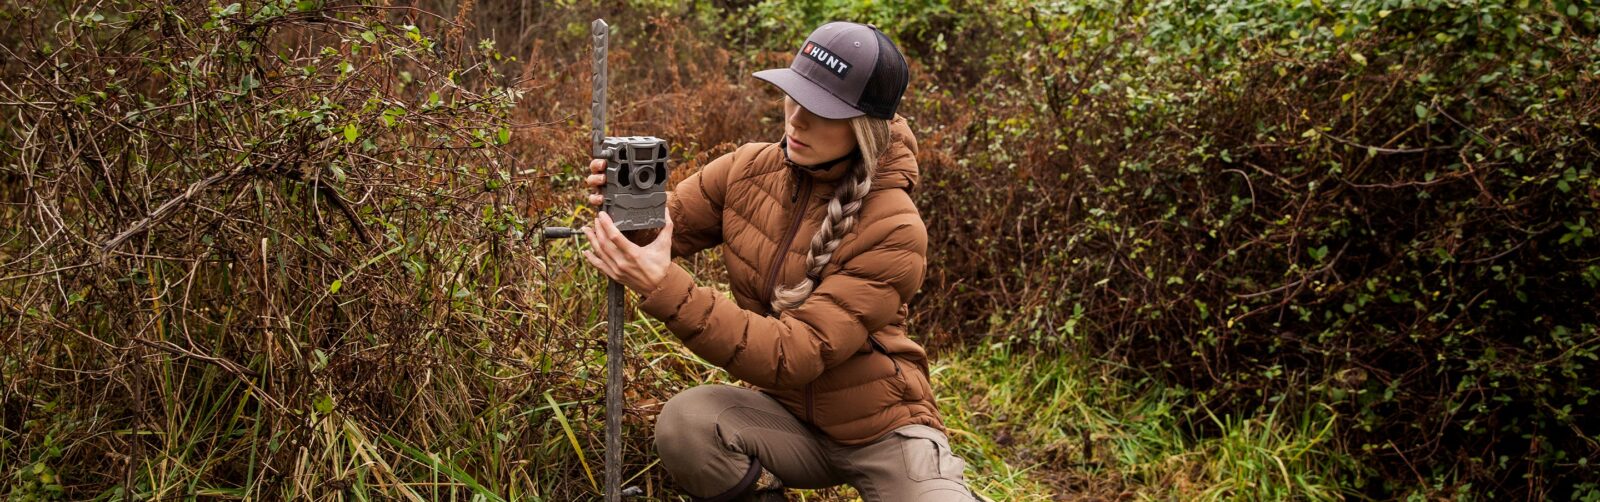
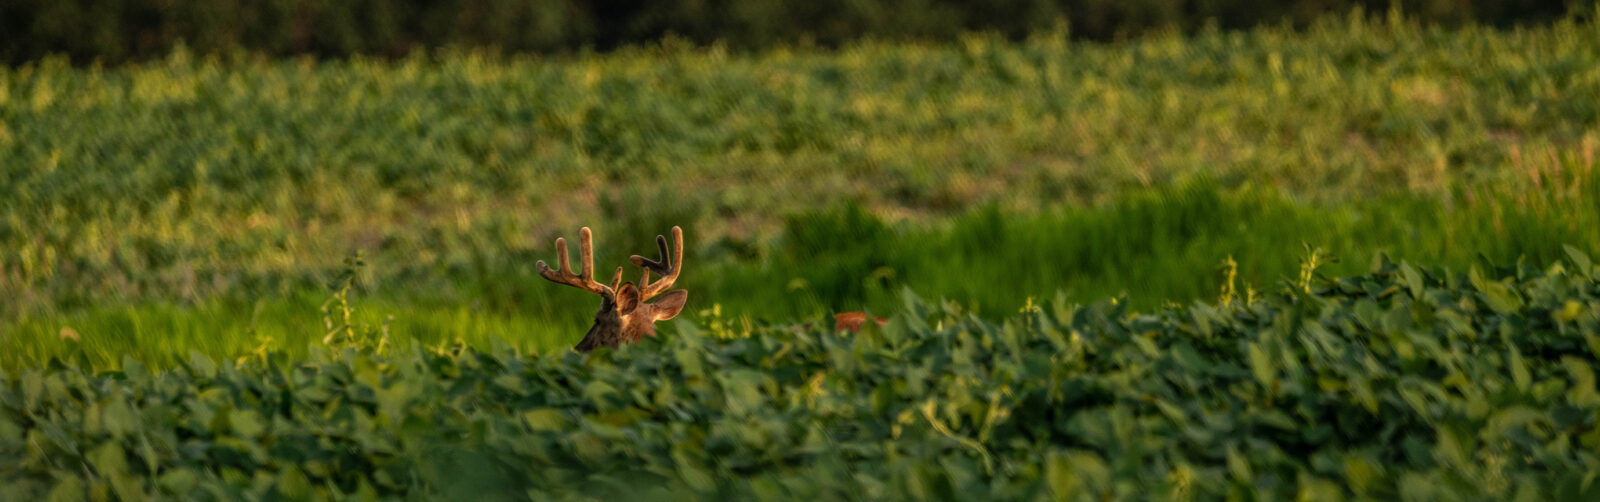
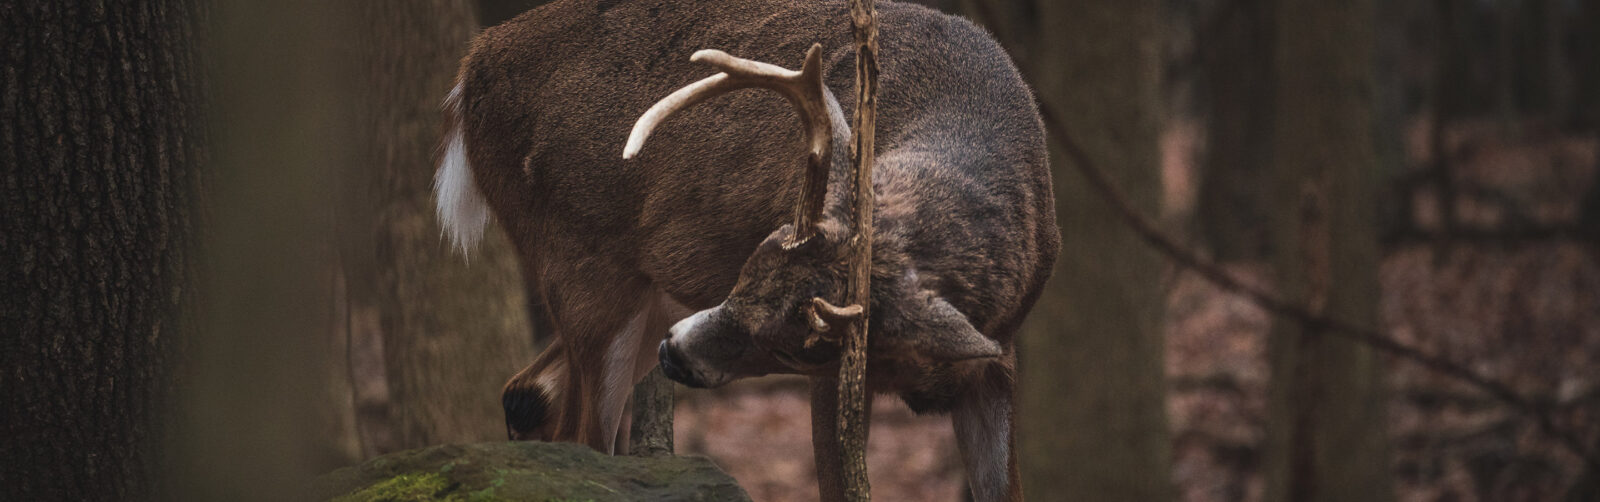
Scouting With Trail Cameras
Improve your trail camera strategy with tips on placement and settings.
How have you used trail cameras to pattern and target a specific deer?
Kyle Heuermann of Team Radical
“Every buck is different in my experience. Sometimes their core area is relatively small and other times it consists of miles. Anytime I get a picture of a specific buck, I’m not zoning in on that spot but on where I think he’s headed. Once you’ve got a picture of a buck, in my mind, you’re already a step behind him. The goal is to ALWAYS get in front of him.”
What’s the perfect trail camera location?
Rusty Johnson of United Outdoors
“The perfect camera location for mountainous public land would be where an interior edge intersects with a primary scrape near a known bedding area or food source. In the midwest, I like using ditch crossings that are in thick cover with an existing scrape or make a mock scrape.”
Jeff Althoff of Love the Grind
“Our favorite location depends on the season, which we can simplify and break down three ways:
- Velvet: We like to put cameras on edges of soybean plots, clover/alfalfa plots, and water. On properties where there is standing corn inside corners (between corn and the timber) are great spots to get bucks traveling.
- Pre-Rut/Rut: We move all of our cameras to mock scrapes and water. Those might be on a ridge in the timber or on field edges. Typically, these are the easiest places to kill deer, not just capture them on camera.
- Late Season: Food, food, and food. Nothing shocking here, but it’s great to find out what deer made it through and when their sheds drop.
“We keep our cameras out of bedding. Not because we wouldn’t get pics, but because we try to place our cameras where we can go in and kill if we get good intel.”
How often do you move a typical camera?
Shawn Luchtel of Heartland Bowhunter
“During the summer months, I don’t tend to move them much as my main goal is to just gather summer inventory. As the season approaches, I will move cameras to areas where I hope to pattern a buck prior to the season. Once the season rolls around, I will begin to move them to scrapes and food sources.
“When the rut is approaching, my trail cameras will be moved to scrapes and travel corridors. As the rut begins, I might move them if I am hunting in an area, but at that time I hope to have them in tight to bedding areas because that is where the bulk of the movement tends to be. I am still relying on them but not as heavily on exactly where to hunt but more so I know what bucks are in the area.
“Once late season begins, I will have moved them a final time to food sources as that’s where my final focus has shifted for the ending of the season. Moving trail cameras tends to go in phases of the fall for me. There are many factors that go into it, and every year is different than the last which makes it exciting.”
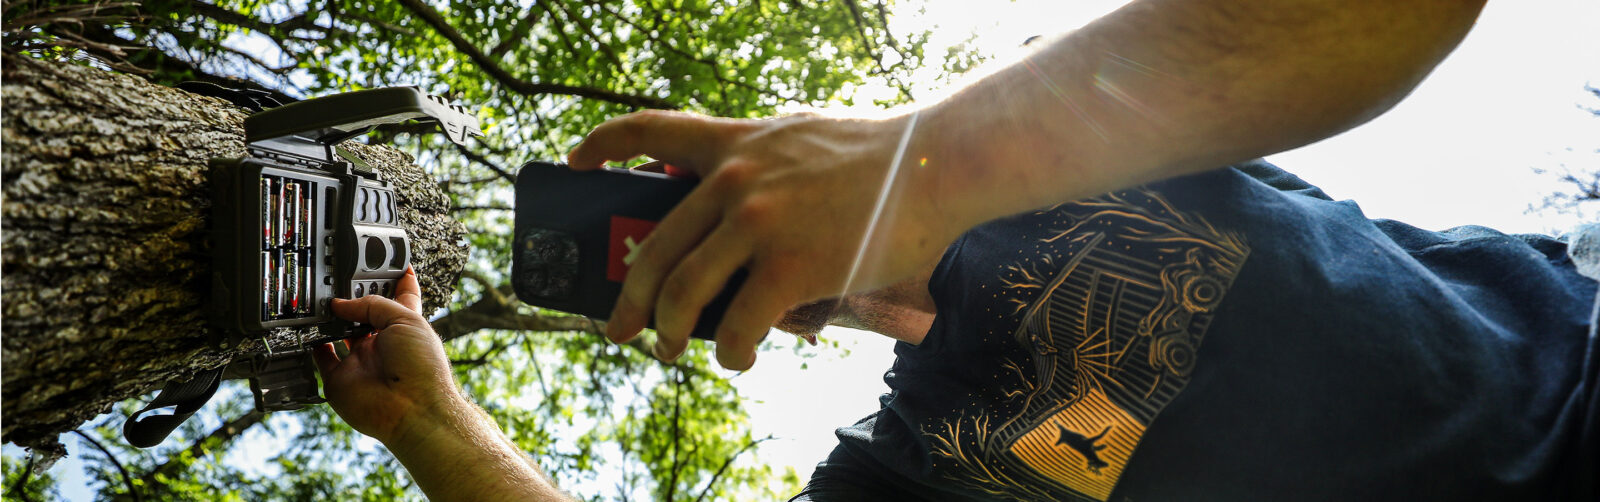
What’s the role of video settings in your setup?
Mike Hunsucker of Heartland Bowhunter
“Though time consuming to check, having trail cameras on video mode can help you learn a lot about an area and the deer movement. Being able to see what direction deer come from and go to, what deer are in the background feeding in a plot, and simply what happens “in between” the photos can be a huge advantage.
“It can also help you learn about a particular deer’s overall demeanor, such as whether he is aggressive or submissive or a loner or a herder. Beyond the data advantage of video trail cameras, there just is something about seeing an animal interact up close without having a clue you’re watching. It doesn’t get much better than watching a big mature buck thrash a scrape a couple yards away.”