Ready to explore this trail?
View Trail Map in AppRegional Classic
A must do route for the area handpicked by local experts.
No permit is required, but Lake Como Road is one of Colorado's toughest 4WD roads; most vehicles stop well below the lake, adding several miles and thousands of feet to the approach.
Path Type
There and Back
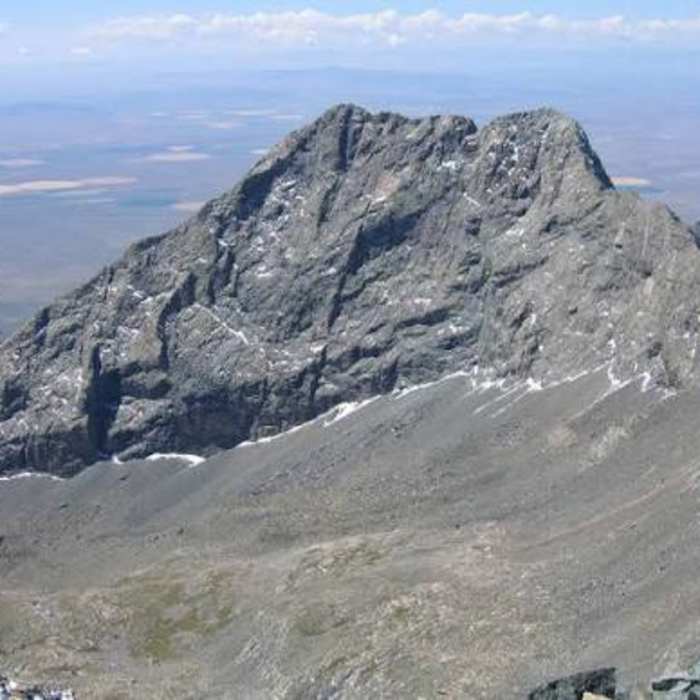
This is not a hike or scramble: reaching Little Bear Peak's summit via the West Ridge Indirect requires a mandatory Class 4 move (or two) on a knife-edge section of ridge with extreme exposure on both sides. This route exists as an alternative to the standard Hourglass, trading that route's notorious rockfall danger for this brief, unforgiving stretch of ridge. Some climbers carry a rope for security through the crux; test every hold regardless, since the rock here has proven unreliable. For full technical beta, consult Mountain Project and onX Climb Mode, and do not attempt this route without solid Class 3/4 experience and genuine comfort with extreme exposure.
This route begins and ends on Lake Como road, typically from the trailhead located at 8,800', and reaches the summit of Little Bear Peak at 14,041'. The type of vehicle you are driving will determine from where you should start; most cars can drive about 1.5 miles up, while 4WD SUVs and trucks can slowly make it 3.25 miles to several pull-offs at 8,800', where this map begins. This is a popular parking spot and almost gets you to within 4 miles of Lake Como. The route starts at Lake Como (11,750') and ends at Little Bear Peak's 14,041' summit.
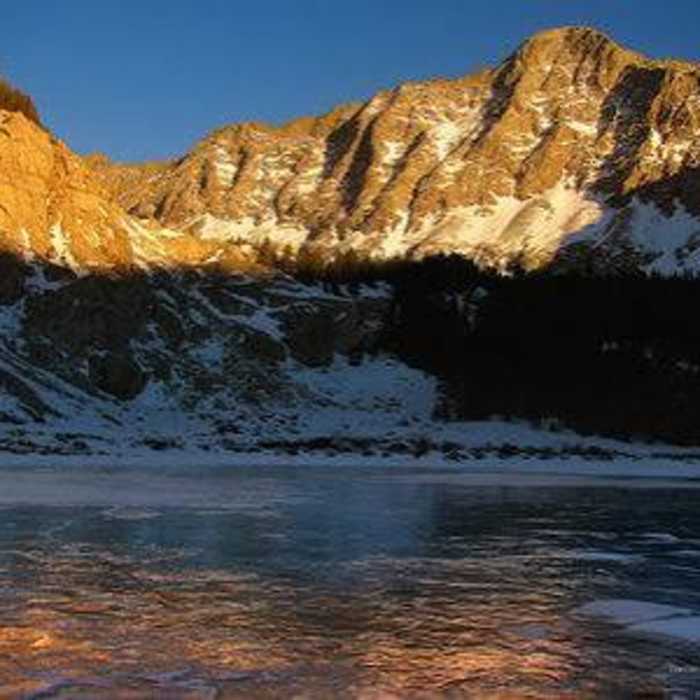
From parking, follow Lake Como Road east through the national forest boundary near 8,800' and progressively rougher terrain toward 10,000. Reach Lake Como itself at 11,750' and continue on the Lake Como Road around the shoreline and back into the forest. Near 11,900', exit the forest, drop slightly, and find a cairn on the right marking the turn off the road. Cross a stream and follow cairns onto a talus pile, continuing to about 12,000' where a gully leading to the west ridge comes into view. Cross more talus and climb into the gully; the right side is usually the easiest line. Reach the top of the gully near 12,600', at a notch in the west ridge.
Turn left (east), traverse the ridge's south side below the crest, bypass a 12,960' ridge point, and continue east below cliffs. The route stays Class 2 until here.
Crux (~13,100'): Watch for a rock rib and small black wall; turn left off the standard trail, aiming left of a prominent hump on the ridge above. (Reaching the Hourglass's V-notch means you've gone too far.) Climb a gully left of a talus field (base ~13,320'), veering right to the ridge's low point (~13,550') — the easiest but most exposed way up; skip the loose right-side bypass.
Crux: Once on the ridge, extreme exposure drops away on both sides for a few hundred feet. Scan ahead for a flat-faced white rock marking your exit. The crux itself is only a move or two of Class 4 climbing, topping out around 13,640' — but the consequence of a slip here is severe on either side. A bypass exists to the right, but it's equally or more difficult, so staying on the ridge crest is recommended.
Past the crux, watch for a flat-faced white rock; a Class 2 ledge runs just above it. Miss it and you'll likely hit harder terrain trying to get off the ridge. A few Class 3 moves gain the ledge.
Mark the summit turn (~13,725') for your return, and avoid kicking rocks into the Hourglass below. Cross a short wall, work up a short gully, then walk the ridge to the summit.
Reverse the same route: relocate the cairned turn point back to the West Ridge, downclimb the crux (the hardest single move is stretching down the flat rock near the top), then continue down to the ridge's low point to exit. From there, retrace the traverse below the ridge crest, back through the 12,960' bypass, down into the gully at 12,600', and down to the talus pile and Lake Como Road, returning to Lake Como. Alternatively, the standard Hourglass provides a second descent option, but its rockfall hazard demands extreme caution.
No Condition Reports
Ellingwood Point South Face
Ellingwood Point South Face
Little Bear Peak West Ridge and Hourglass
Little Bear Peak West Ridge and Hourglass
Blanca Peak Northwest Ridge
Blanca Peak Northwest Ridge
Blanca and Ellingwood Combo
Blanca and Ellingwood Combo
Little Bear and Blanca Traverse
Little Bear and Blanca Traverse
Ellingwood Point Southwest Ridge
Ellingwood Point Southwest Ridge
Contributors